The carburetor is king in the world of American muscle cars for good reason: It’s simple and effective in delivering a fuel mixture to your V8.
But carburetors are quirky, and even when professionally tuned, a carb can’t always deliver the exact fuel curve your engine needs. The weather or even changes in altitude can knock that old 4-barrel on your Camaro’s 396 out of balance even if it was in perfect tune yesterday.
Car guys have learned to live with this. But imagine for a second if that old carb could tune itself to always deliver the correct amount of air and fuel to your engine, regardless of conditions. Something like that would give great response all the time, start easy, and produce peak performance along with the best economy possible. That may be a dream for a carb, but it’s reality for modern electronic fuel injection (EFI).
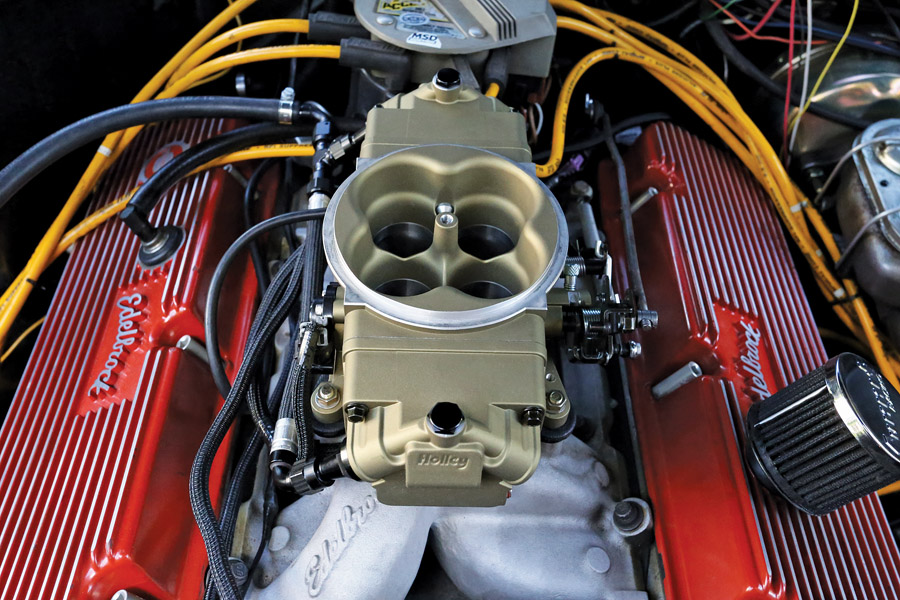
EFI has taken the aftermarket by storm — there are a bunch of systems that promise to offer better drivability to vintage engines. But there’s only one system that can hide under your muscle car’s air cleaner and look just like a carb — Holley’s Terminator Stealth EFI system in the classic gold finish. Ours came from our go-to supplier of performance parts: Summit Racing Equipment.
ACC has always stressed that driving our classics is key to enjoying them, and this system offers the best of modern technology while keeping those classic looks. Most importantly, it also draws in a younger crowd — every single under-40er I told about this system wanted to be a part of the installation and tuning process. So for breathing new drivability into a classic — and drawing interest from a younger, computer-savvy demographic who may not care about tuning an old carburetor — this system is great.
Here’s what it took to convert a previously carbureted big-block Chevy to modern electronic fuel injection.
Summit Racing Parts List
- P/N HLY-550-444K Holley Terminator Stealth EFI Master Kit, $2,449.95
- P/N HLY-16-108 Holley Hydramat (3×8), $139.95
- P/N HLY-16-203 Holley Magnet Kit for Hydramat, $22.50
- P/N HLY-558-409 Holley Computer Connector Cable, $48.27
- P/N EAR-AT709167ERL Earl’s Super Stock 90-degree fittings (3), $17.96 each
- P/N EAR-AT581806ERL Earl’s -6 AN Tube Nuts (4), $3.48 each
- P/N EAR-AT581906ERL Earl’s -6 AN Tube Sleeves (4), $3.19 each
- P/N EAR-AT981506ERL Earl’s -6 to -6 Male Union (8), $4.96 each
Other Parts
- Edelmann P/N 3600ST 3/8-inch steel line, 25-foot spool, $30
- 3/8-inch fuel line mounting clips and self-tapping mounting screws, (10) $10
- Time spent: Three solid days
- Difficulty: 5/5
-

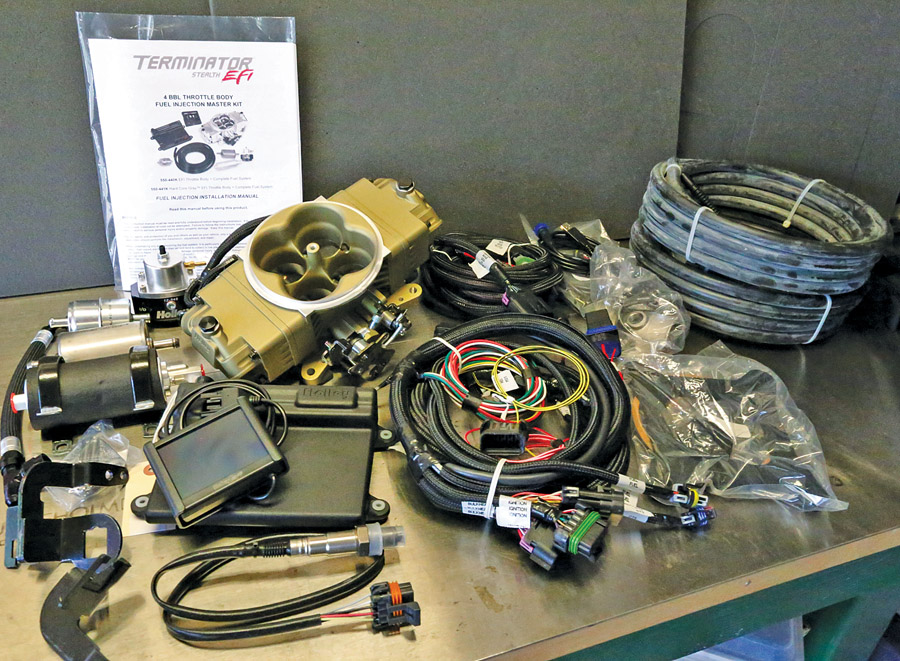
Our Terminator Stealth EFI kit came from Summit Racing with its own fuel system — including an electric pump, 20 feet of Earl’s Super Stock fuel injection hose, filters and fittings. The first thing to do is unpack all the components, catalog what you have, and read the instruction manual to make sure everything is accounted for and you fully understand all the steps involved. -
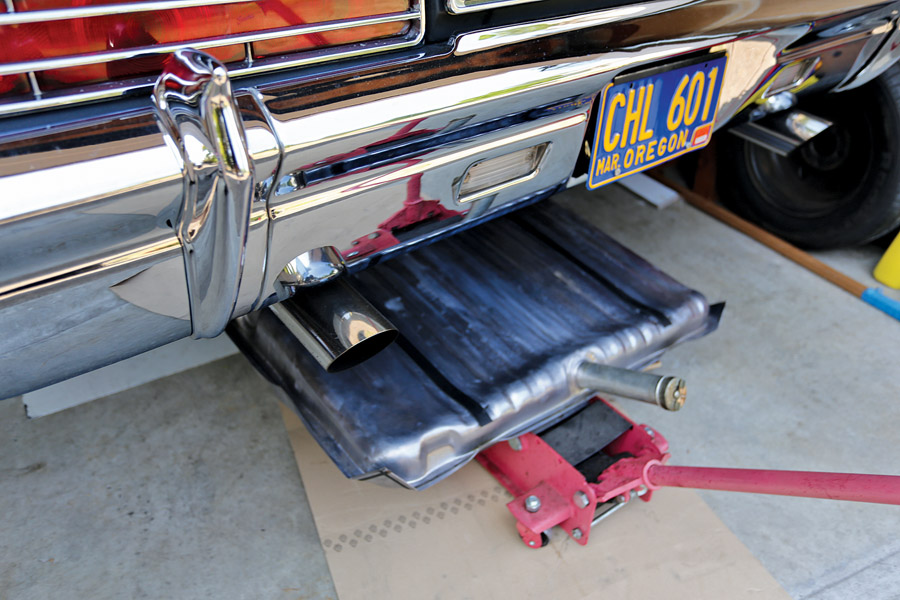
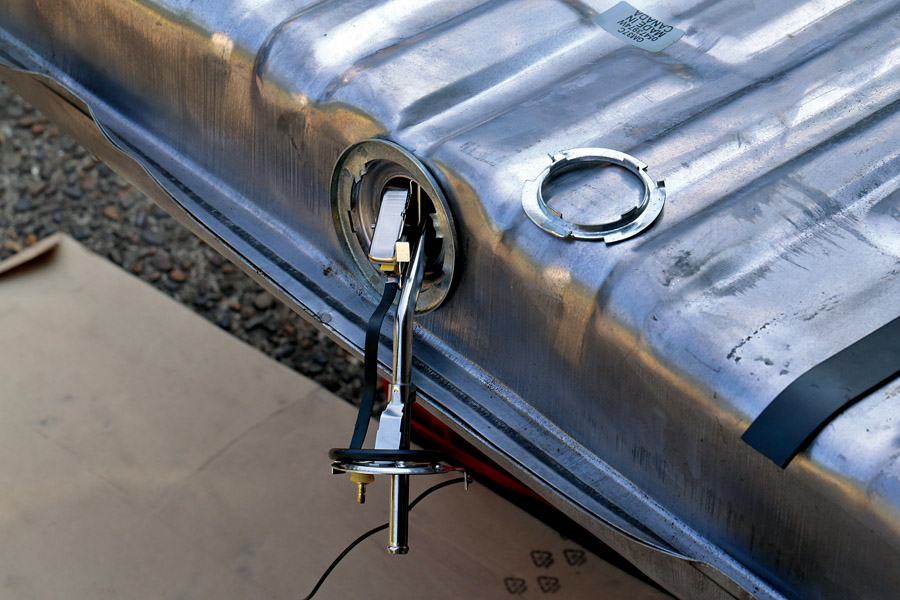
Since this injection system requires a return fuel line, we had to remove the fuel tank and modify it. We drained the tank first, disconnected the factory fuel and vent hoses and gauge wiring, and dropped it out of the car. Then we removed the factory-style sending unit and the gas cap and took the tank to a radiator shop to evacuate the rest of the fumes before drilling into it for the return fitting. -
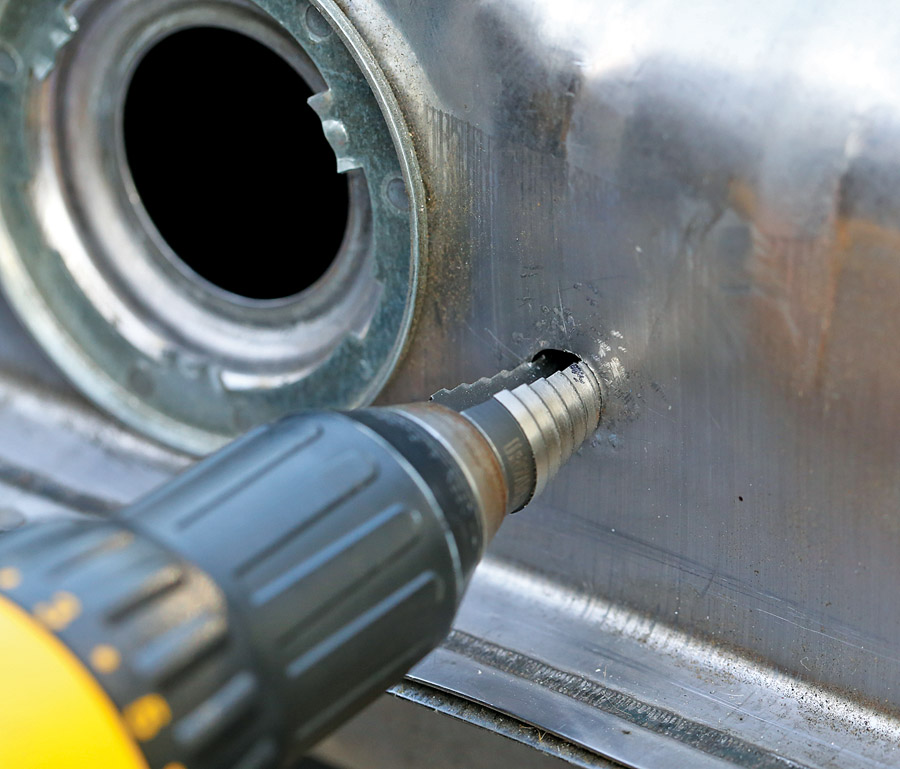
The return is designed to mount in the top of the tank, but two things prevented that here: First, the top of the tank sits flush against the floor of the trunk — no room for an external fitting. Second, this return-line fitting fastens to the tank with a nut that must be tightened from inside the tank, and there’s limited hand access through the two-inch sending-unit hole, which is at the front of this fuel tank. So we drilled a 9/16-inch hole in the flattest section of tank near the sending-unit hole. We then deburred that hole inside and out. -
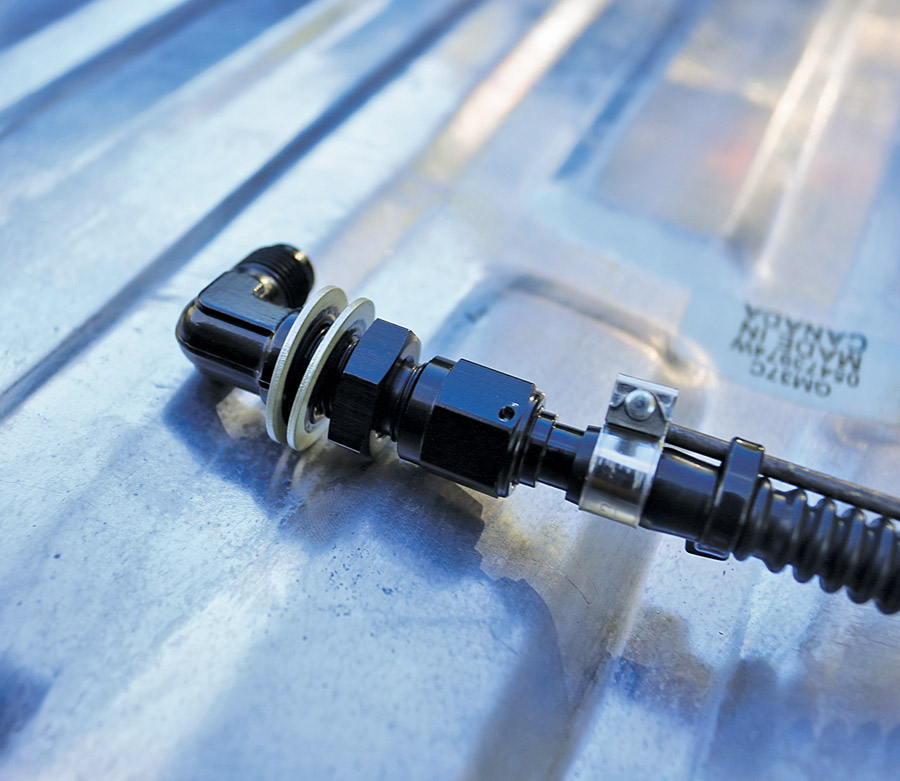
Note the construction here: 90-degree bulkhead fitting, special sealing gaskets (called Stat-O-Seals) that sandwich either side of the tank, and a large nut on the back of the bulkhead fitting to compress it all together, and then a line that continues on to below the fuel level inside the tank. This must be assembled inside the tank and tightened through the original two-inch sending-unit access hole. Tricky, but not impossible. -
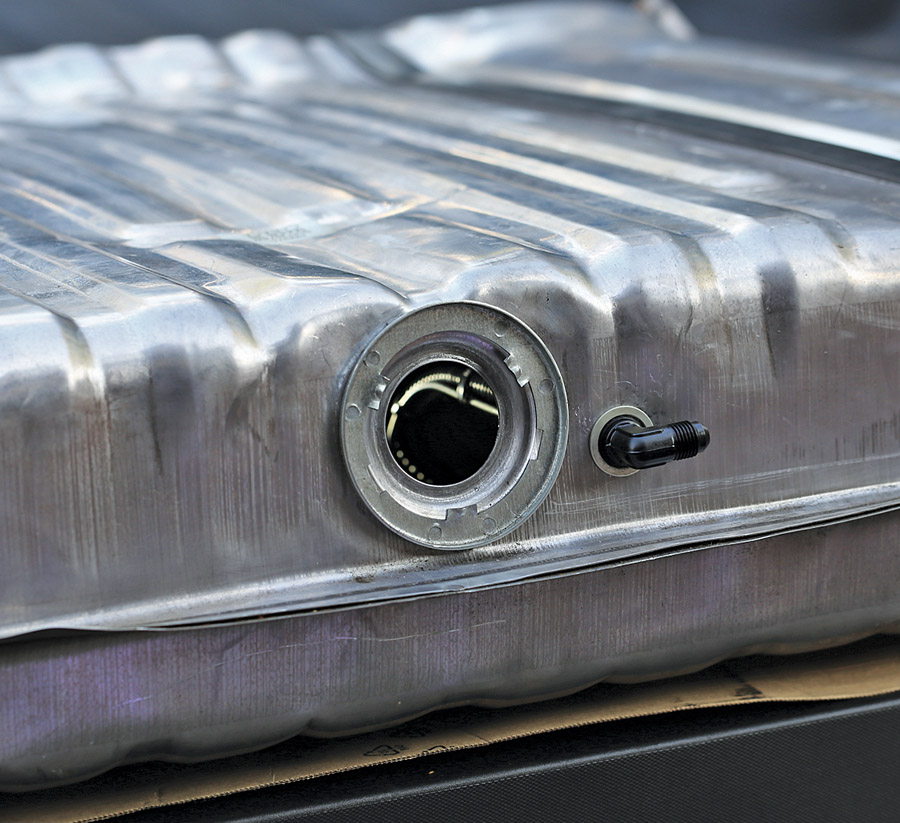
Note the bend in the line inside the tank, fixed with a section of steel rod and nylon zip ties. This should run up along the roof of the tank and then turn back down, exiting under the fuel level. Here’s why: With the return in the side of the tank rather than the top, the weight of the fuel can create resistance in the line and cause pressure-related tuning issues. We had no leaks from the seals — if you encounter leaks, you can have the tank professionally modified with a welded-in return fitting instead. -
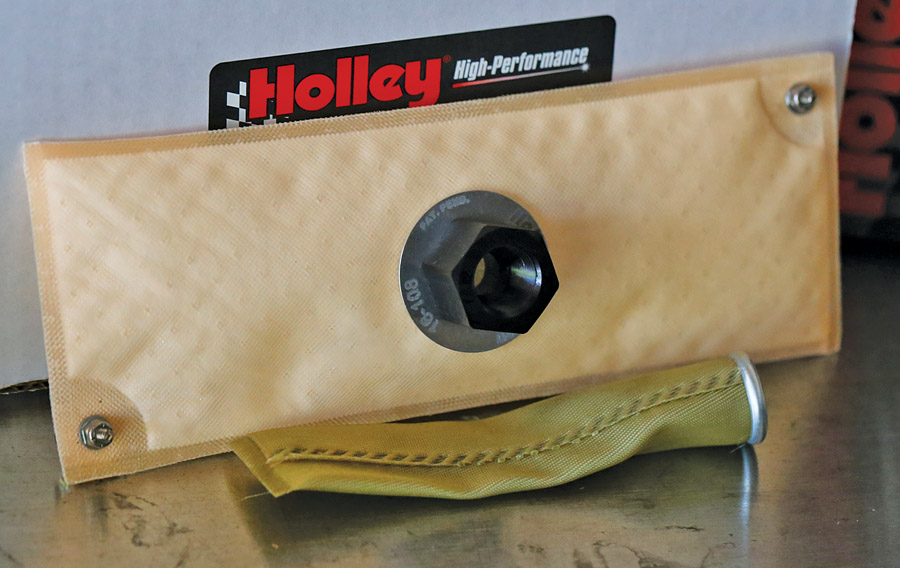
Electric fuel pumps don’t like to be starved of fuel, which can happen under acceleration or cornering. Holley’s HydraMat sits in your stock tank and acts like a wicking sponge to keep fuel fed to the pump. It sticks in place using magnets, holds fuel right where you need it at all times, and eliminates most of the trouble caused by fuel aeration. P/N 16-108 measures 3×8 inches, which is perfect for a stock GM muscle-car tank. -
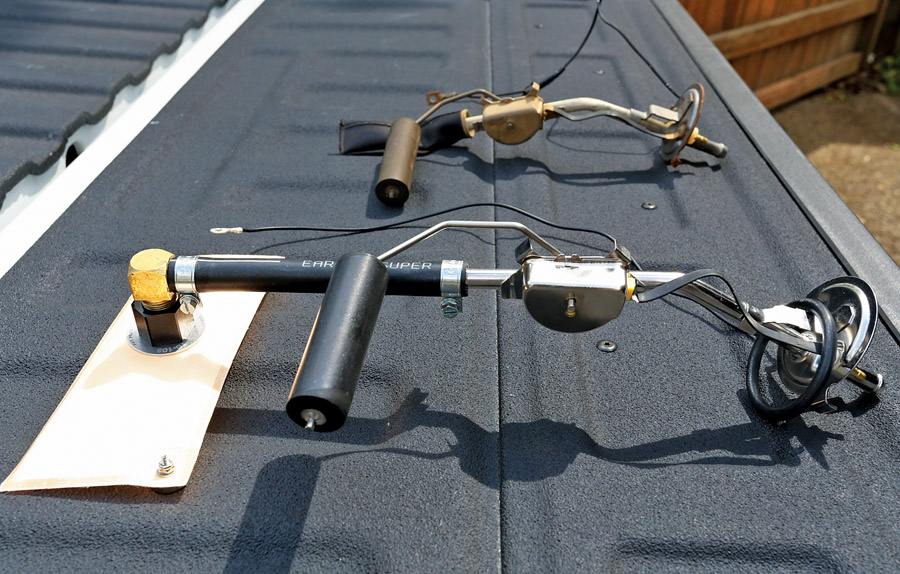
Using fuel line (rated for fuel submersion) and a 90-degree 3/8-inch NPT fitting, we modified a sending unit to use the HydraMat. -
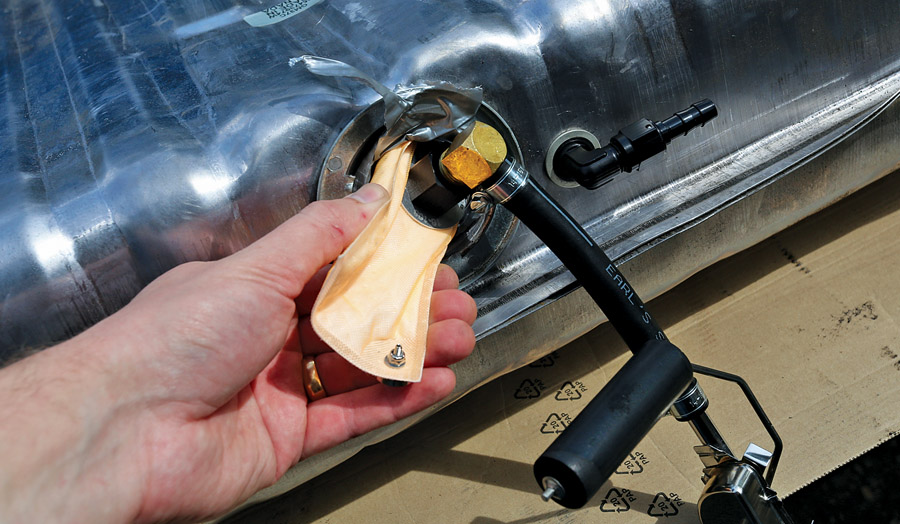
Feeding the new system into the tank is a no-brainer, but be careful of sharp edges that might cut it. Using a dowel, we positioned the mat in the center of the tank before reinstalling the sending unit and buttoning everything up. Then we reinstalled the tank in the car. -
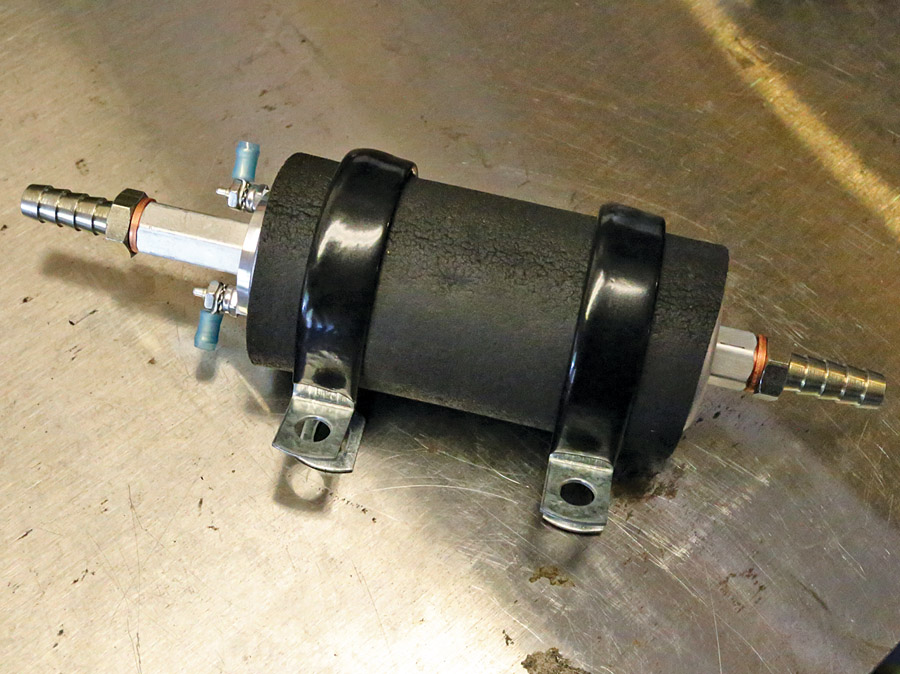
The Holley Terminator system uses an externally mounted electric fuel pump. It must be located close to the fuel tank and below the fuel level so that it’s fed an easy supply of gas — these pumps push better than they pull. There are also two fuel filters as well — we’re only using the post-pump filter here, as the HydraMat functions as a pre-pump filter. -
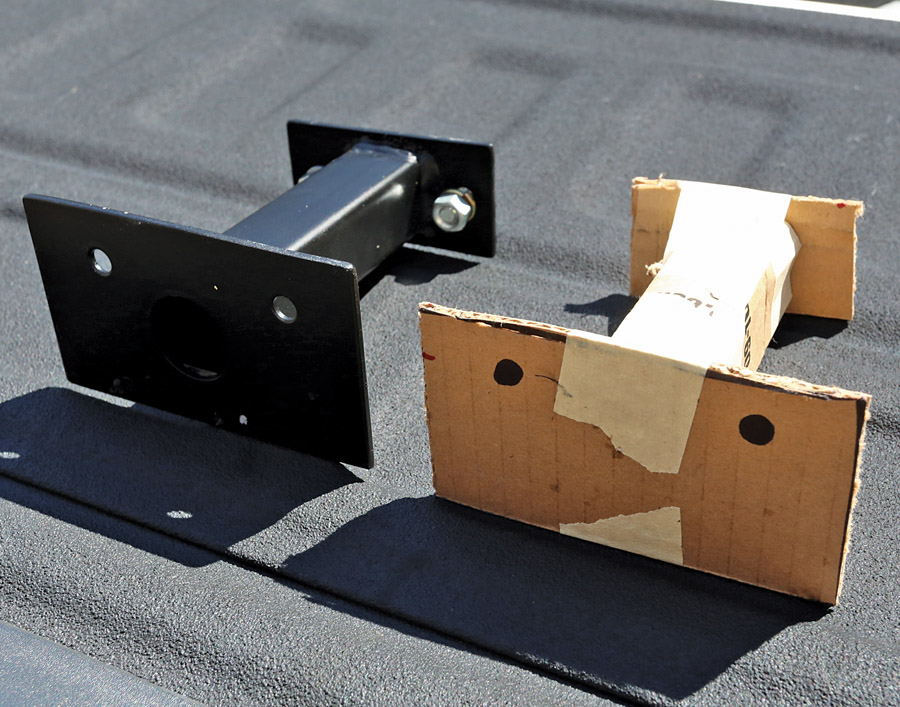
Most cars will require some sort of bracket to get the pump in the right place. We welded up this one out of scrap steel using a cardboard template as a map. It bolts to the trunk floor and hangs the pump in a good spot. -
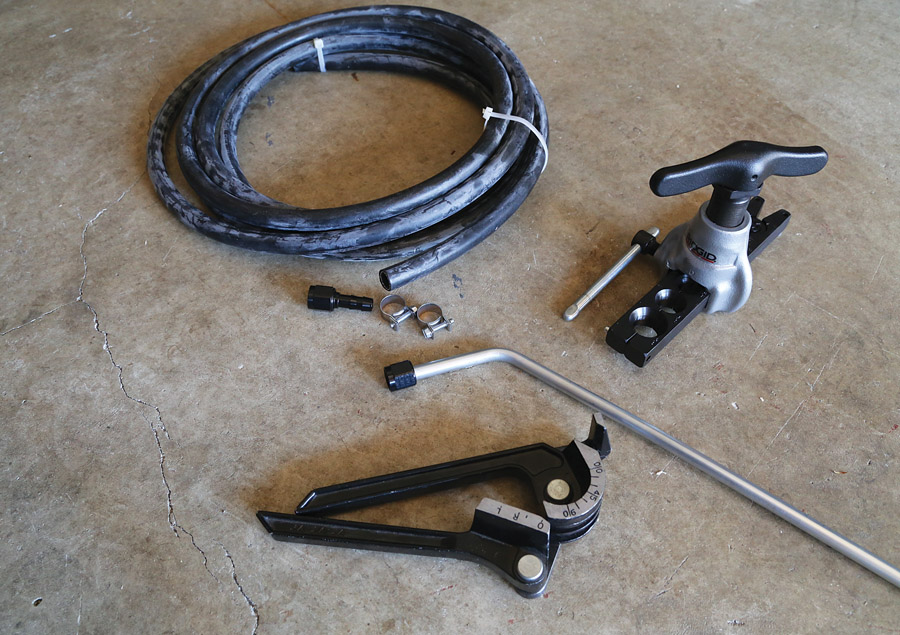
Our Terminator system came with enough Earl’s Super Stock hose to plumb the whole car — that’s an option, but it’s always better to run steel hard line whenever possible. We elected to use the original fuel line as a return line and made a new steel line for the pressure side, which runs along the frame rail on the passenger’s side of the car. We then used the Earl’s Super Stock line to tie everything together. -
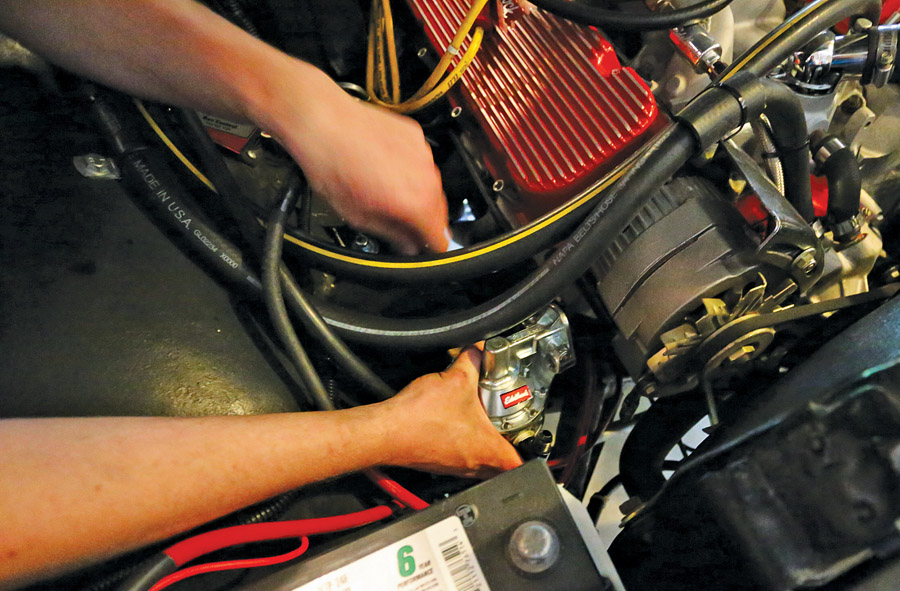
We then removed the car’s mechanical fuel pump, fuel pump pushrod and carburetor. Holley’s kit includes a mechanical fuel pump block-off plate and gasket. -
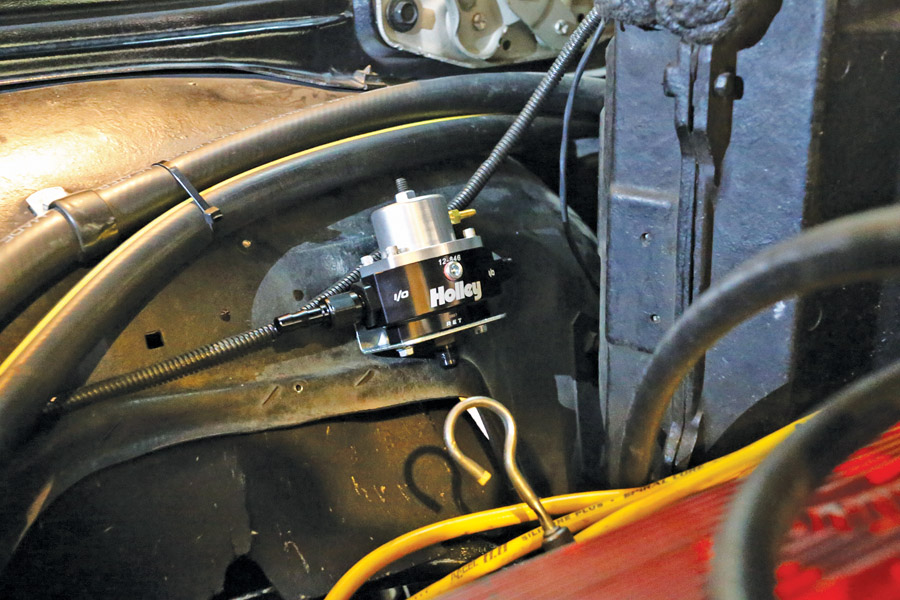
The last part of the fuel system, other than mounting the 10-micron fuel filter in-line on the pressure side, is this pressure regulator, which feeds the engine and directs excess fuel back to the tank. It needs to be mounted under the hood close to the engine, but preferably away from heat — and for our purposes, in a not-too-conspicuous location. We chose the passenger’s side inner fender. We then ran a section of Earl’s line from the regulator to the engine. -
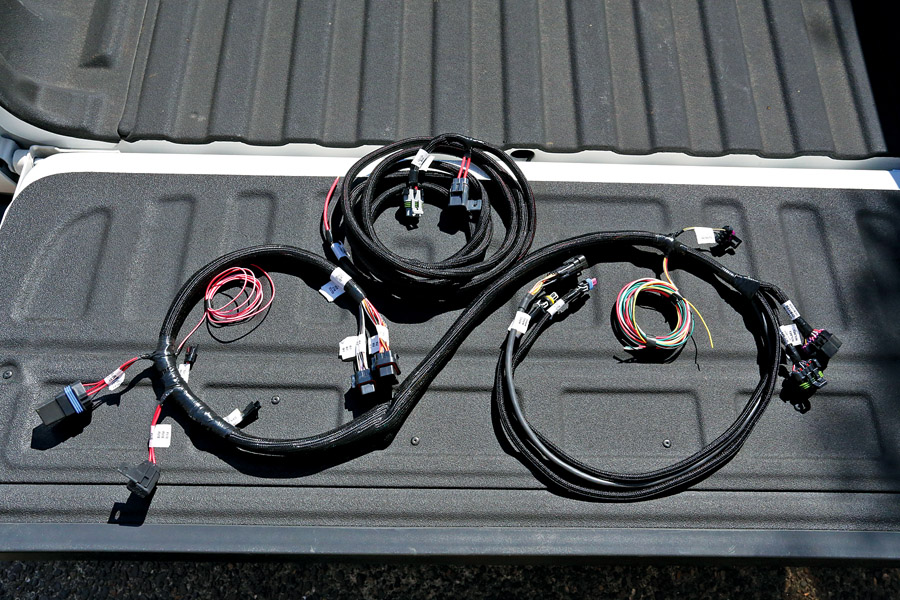
Next up is wiring. This is the extent of the Terminator system’s wiring: two main harnesses, one of which is simple power and ground that goes directly to the battery. Everything is labeled and fitted with OE-grade weathertight connectors. -

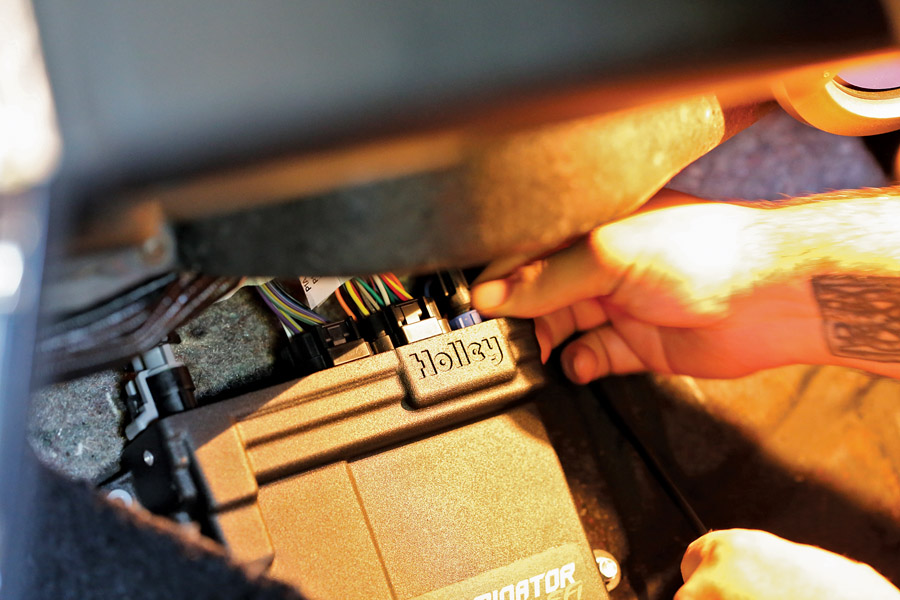
You can mount the electronic control unit (ECU) in the engine compartment, but the idea here is to keep the system as stealthy as possible. Hiding that ECU under the dash requires a two-inch hole to pass the harnesses through. The factory clutch-rod hole in the firewall of this automatic-equipped car was about the right size, so we used that along with a rubber grommet supplied in the kit. -
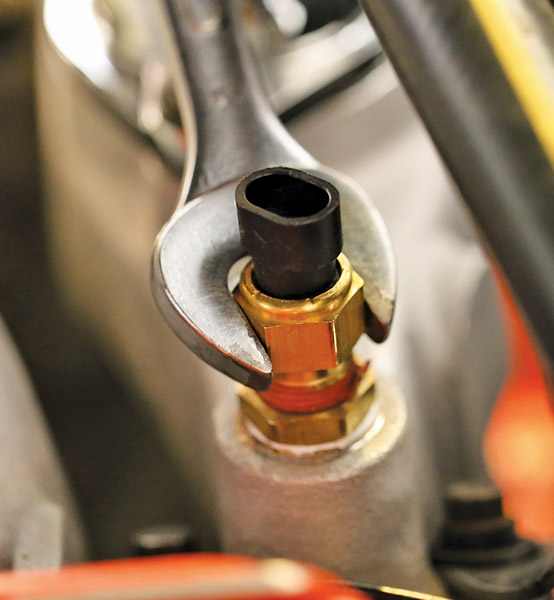
Next, we installed a coolant temperature sensor at the front of the manifold, next to the thermostat. Draining some coolant from the radiator before installation prevents a mess here. -
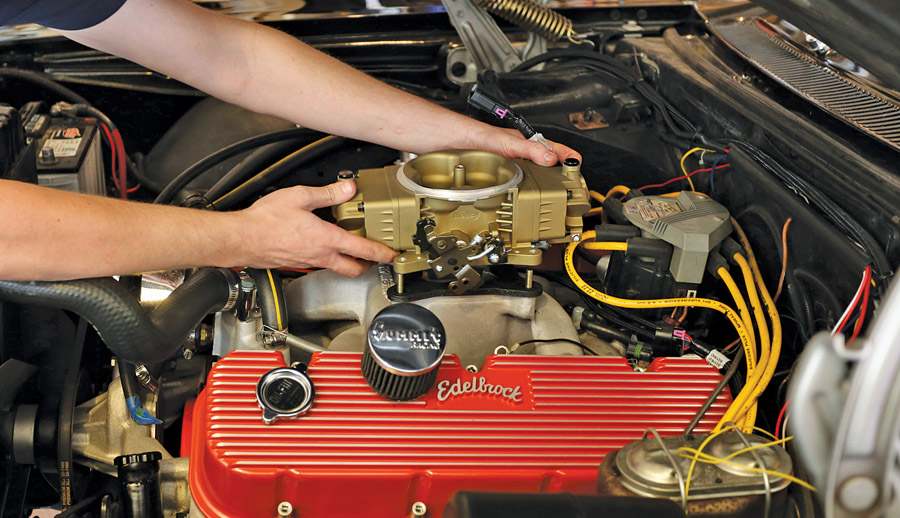
Next up is the injection unit itself — inside this “carburetor” are four fuel injectors, an Idle Air Control (IAC) motor, a Manifold Absolute Pressure (MAP) sensor, a Throttle Position Sensor (TPS), and an Intake Air Temperature (IAT) sensor. The unit mounts using a special supplied gasket and hardware. Flow rate on this unit is 950 CFM. All the brackets for various transmission kickdowns and throttle configurations are included. -
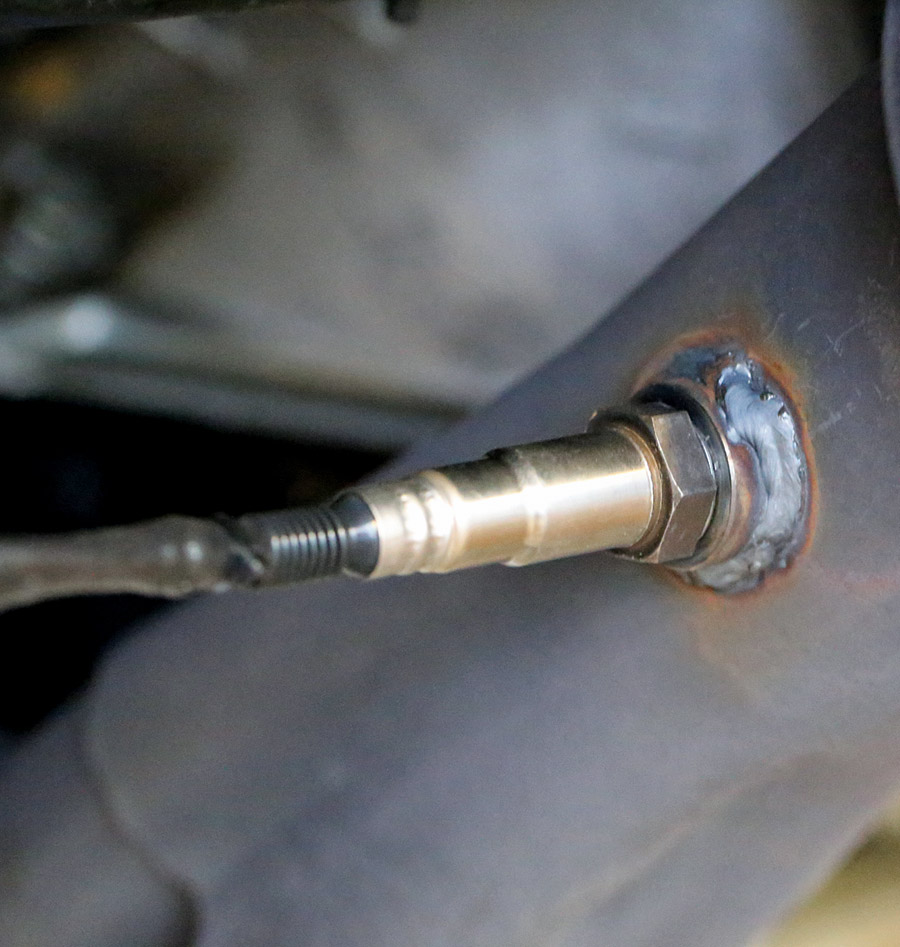
The wideband oxygen sensor mounts in the exhaust pipe or header. This car had a wideband O2 system already, so we just installed the new Holley sensor in our previously welded header fitting. The kit supplies both a clamp-on and weld-on-style fitting. -
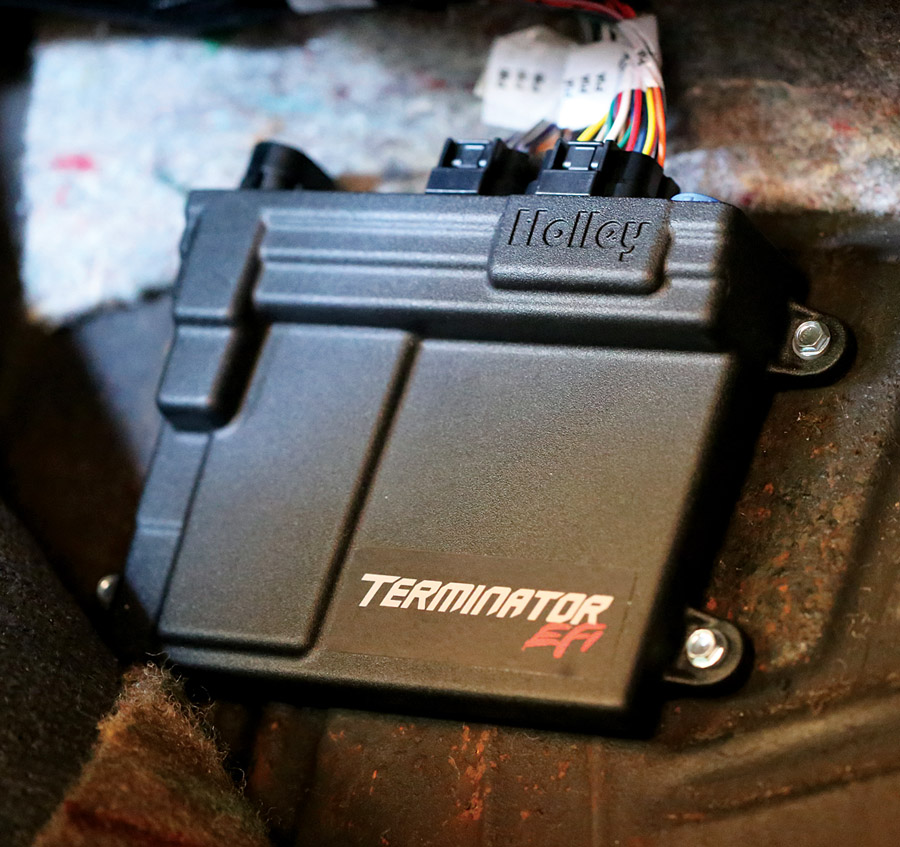
With all the sensors installed and plugged in, we routed the main harness in the engine compartment and through the firewall, and then used the remaining wire length to determine where we could hide the ECU. The perfect spot was on the upper section of the passenger’s footwell, under the carpet. It allows both good access and limited visual impact. The kit comes with bolts and locknuts to secure the ECU. -
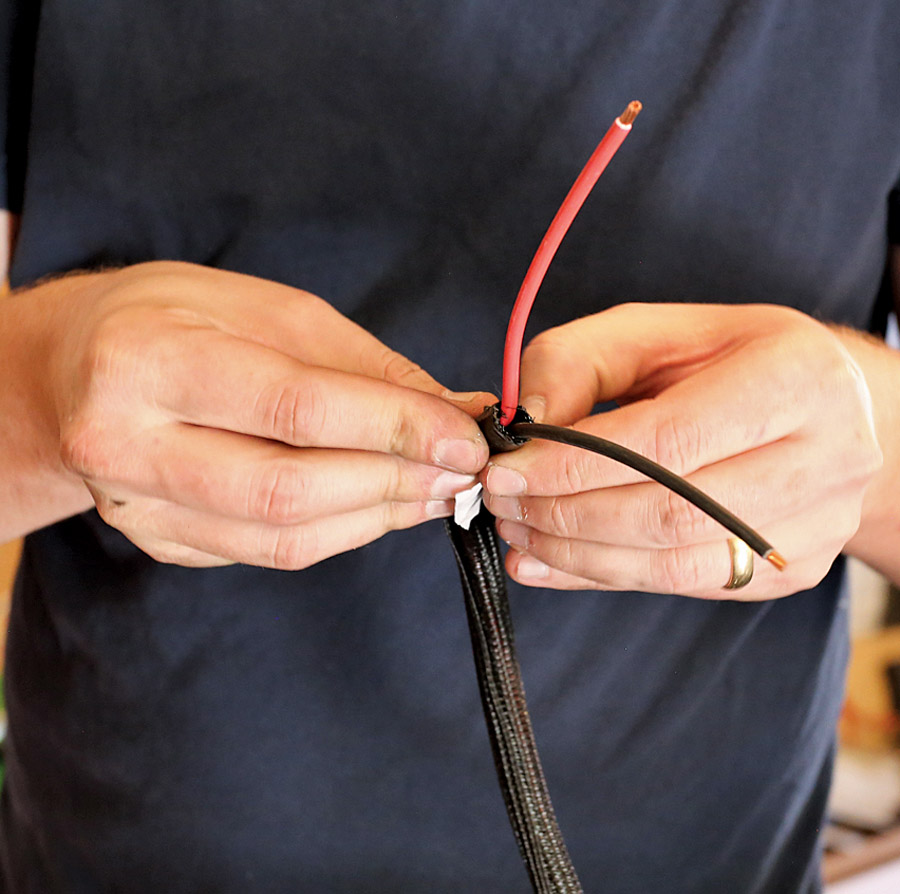
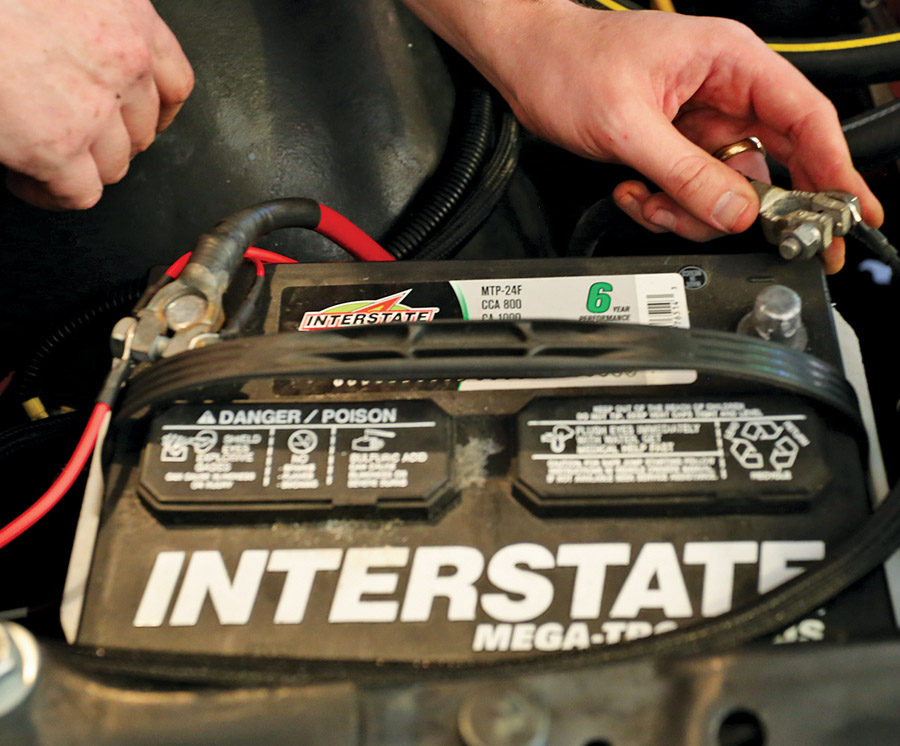
The second harness — the power harness for the ECU — was routed much the same way as the main harness, although it must go straight to the battery for both positive and negative connections. This step is extremely important in getting the system to function as designed. The kit ships with crimp-on connectors for these wires, which should also be soldered and covered with heat shrink. -
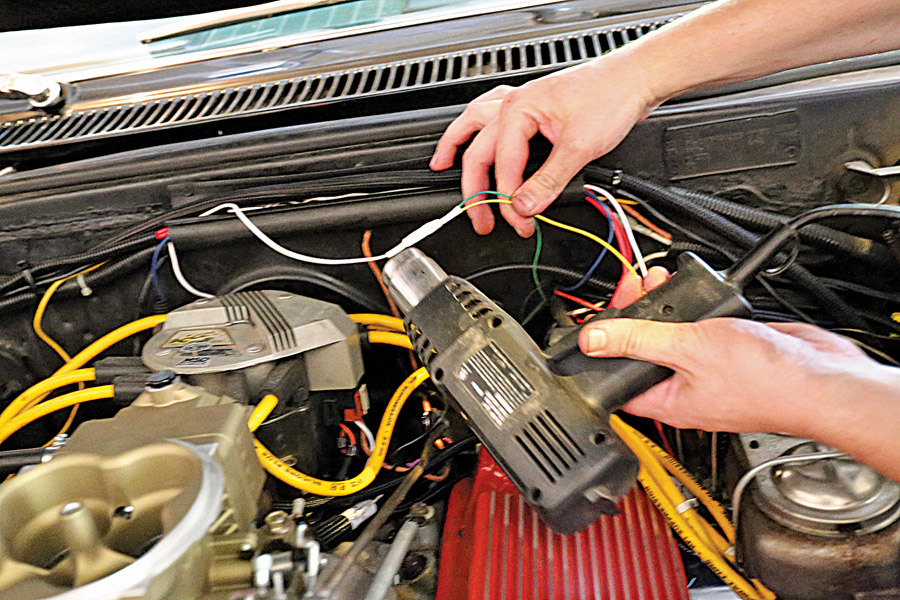
Several more connections needed to be made on the main harness: One constant hot at the positive side of the battery (red), one engine ground (black), one lead that powers the fuel pump at the back of the car (green), and one ground wire for the fuel pump. Finally, we hooked up the keyed ignition hot lead to a source on the fuse panel that was hot with key on and while cranking (red with white), and tapped into our HEI’s tach feed to give the ECU a tachometer signal (yellow). We also installed an optional extra extension harness to allow the ECU to control a previously installed electric fan. Again, solder and heat-shrink all this for best results. -
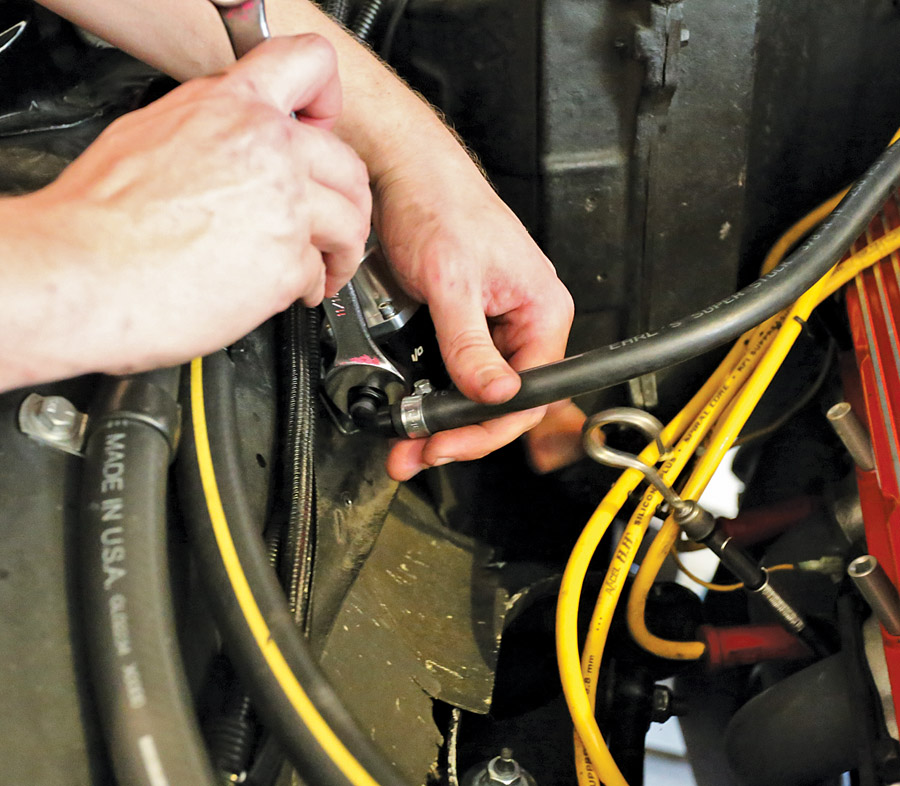
Before putting power to the system, we double-checked all our fuel-line connections to make sure they were tight, away from heat, and fastened to limit vibration. This system runs 43 psi of fuel pressure — any small leak is in fact a big leak, so better safe than sorry. We also refilled the fuel tank and verified there were no leaks from the return line bulkhead fitting in the tank. -

The last component to install is Holley’s 3.5-inch color touchscreen interface, which plugs into the main harness. This is how most of the communication with the ECU is done. There’s enough cable to hide it when you’re not tuning the car to keep up that stock appearance. -
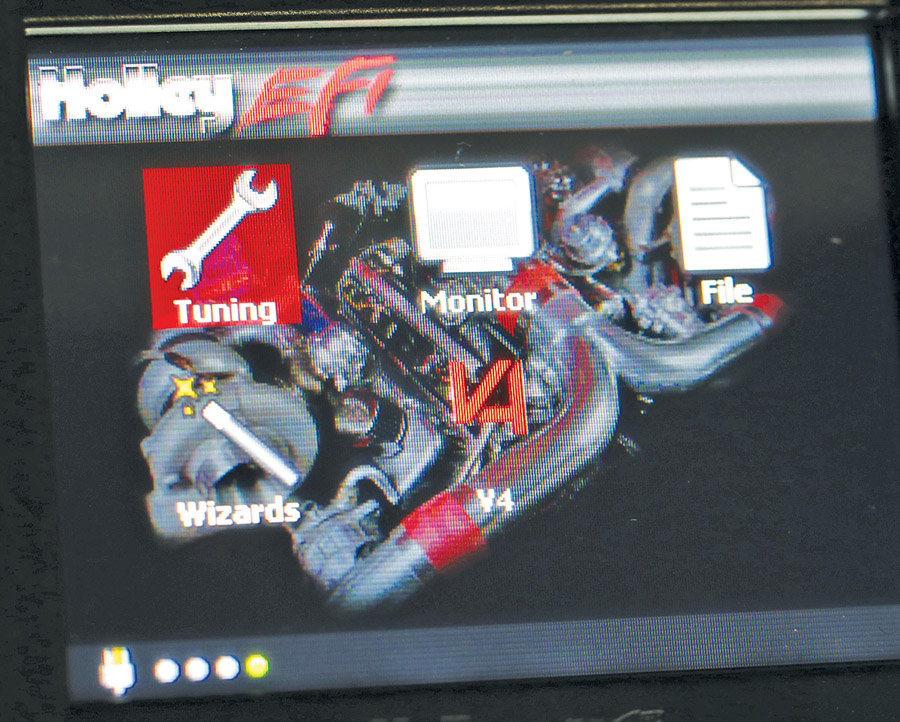
After hooking up the battery, we turned the key to the “run” position. The fuel pump primed, running for five seconds to pressurize the system. Again, we checked for leaks, found none, and then proceeded to start the tuning process using the touchscreen. -
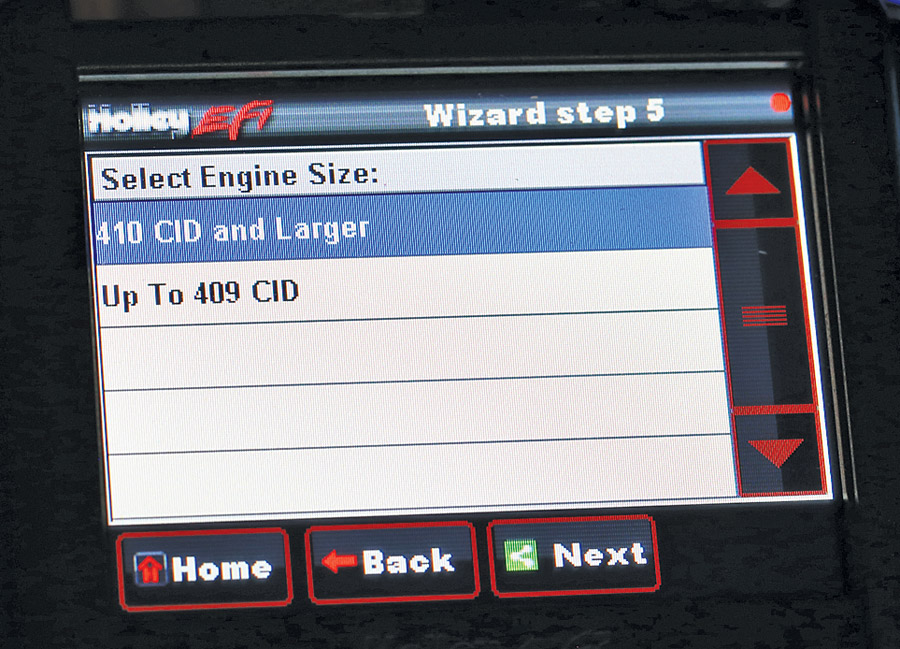
A few simple questions from the system wizard are next. These include things such as injection type, cam type, engine size, etc. The system will then load a tune that’s close to what you’ll need to get your car started. -
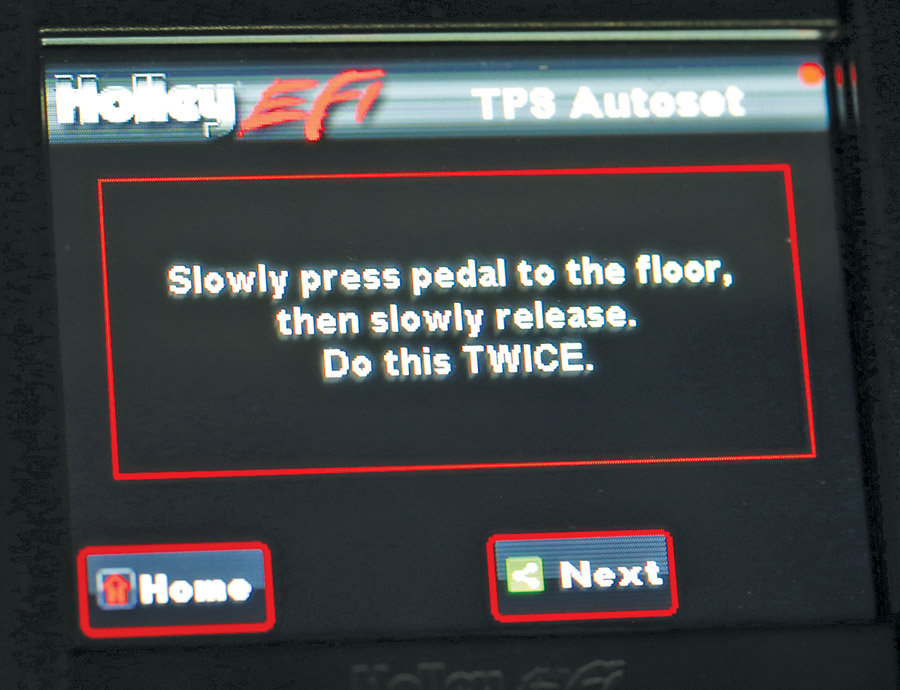
Before starting the car, the ECU requires a TPS Autoset — a zeroing of the throttle position sensor. Once set, the system will activate the fuel injectors and allow the engine to run. This is simple — when prompted, we just stepped on the gas twice to set it. -
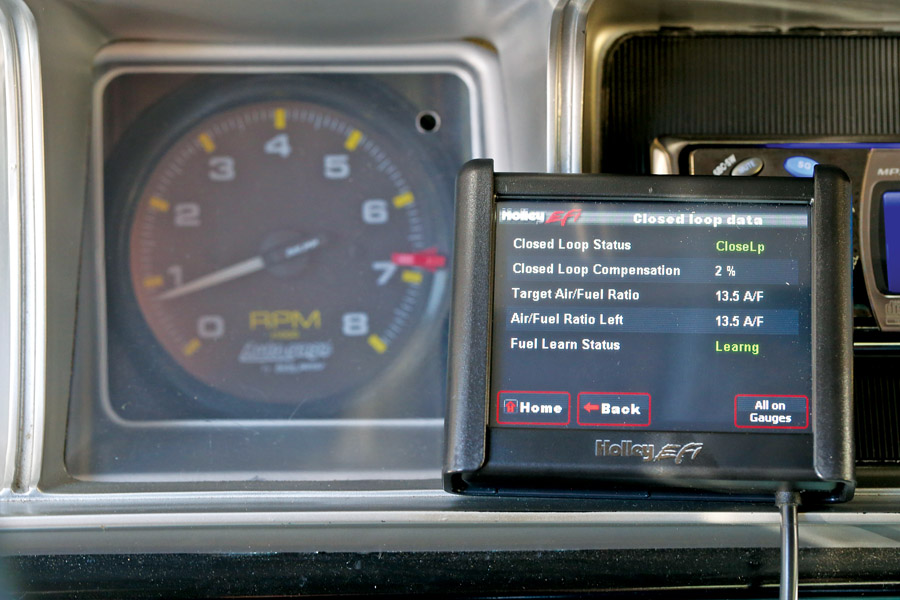
Once everything was installed, checked, and the ECU was calibrated, we hit the key and the big block fired to life on the first go — even with a large roller cam featuring 236/245 degrees of duration and 0.625/0.639 inches of lift. It settled into a nice 850-rpm idle. -

Holley’s EFI system tunes itself as you drive, so once we double-checked for leaks and issues and let the engine come up to temp, the next step was to drive the car to let the system hone in on what the engine wanted. We set off and found way better throttle response and cleaner off-idle power delivery right off the bat — even before the system started to tune itself. -
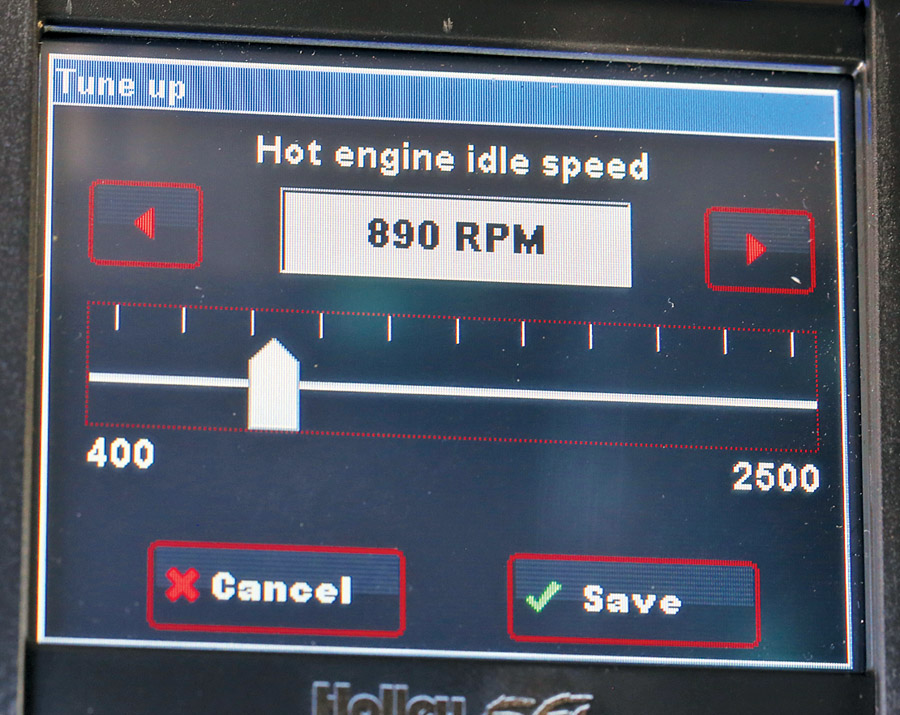
This system does away with screwdriver tuning, as you’d do on a carburetor, in favor of a touchscreen interface. All adjustments are handled from the driver’s seat. In general, the system works like this: The ECU has target air-fuel ratios for idle, cruise and wide-open throttle (all of which you can change) and the computer uses input from its sensors to monitor and adjust itself to hit those targets. It works really well. -
Holley’s self-learning system is fantastic, but this kit is great in that it also allows you to tune it via a laptop using Holley’s V4 HP-series software, a standard in the computer space, which is available at www.holley.com. A special cable, Summit Racing P/N 558 409, allows you to connect a Windows laptop to the ECU. -
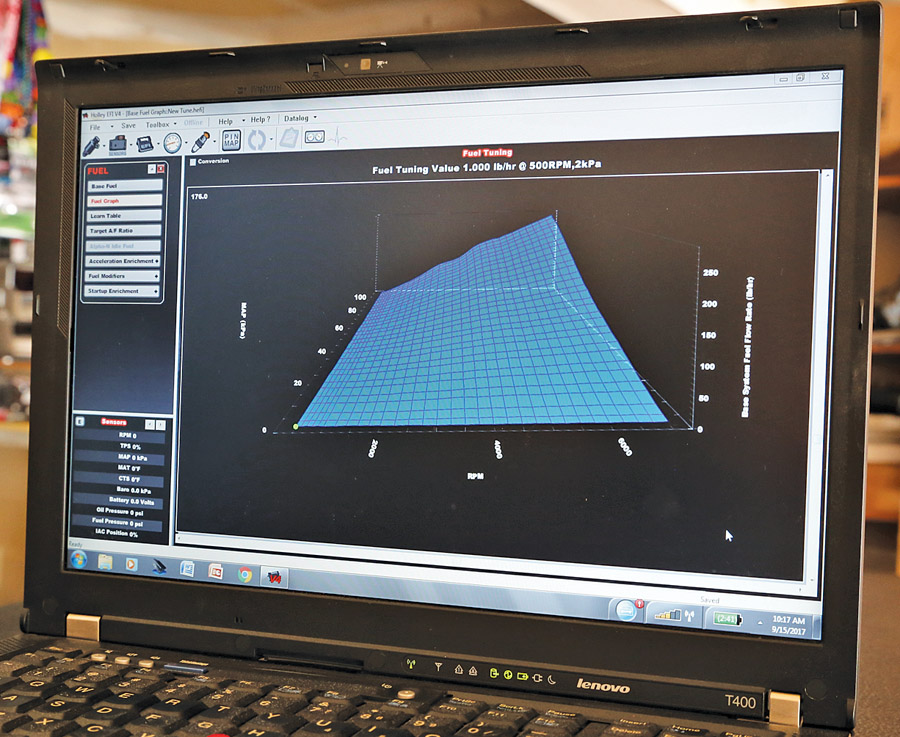
Here’s where it gets interesting — while you can just let the system take care of tuning itself with good results, the Holley software gives even more control than the handheld tuner, with many more in-depth tuning options to optimize the system. The Terminator ECU will also control your timing if you use a small-cap computer-controlled HEI, which puts the power of your ignition curve in the palm of your hand as well. -
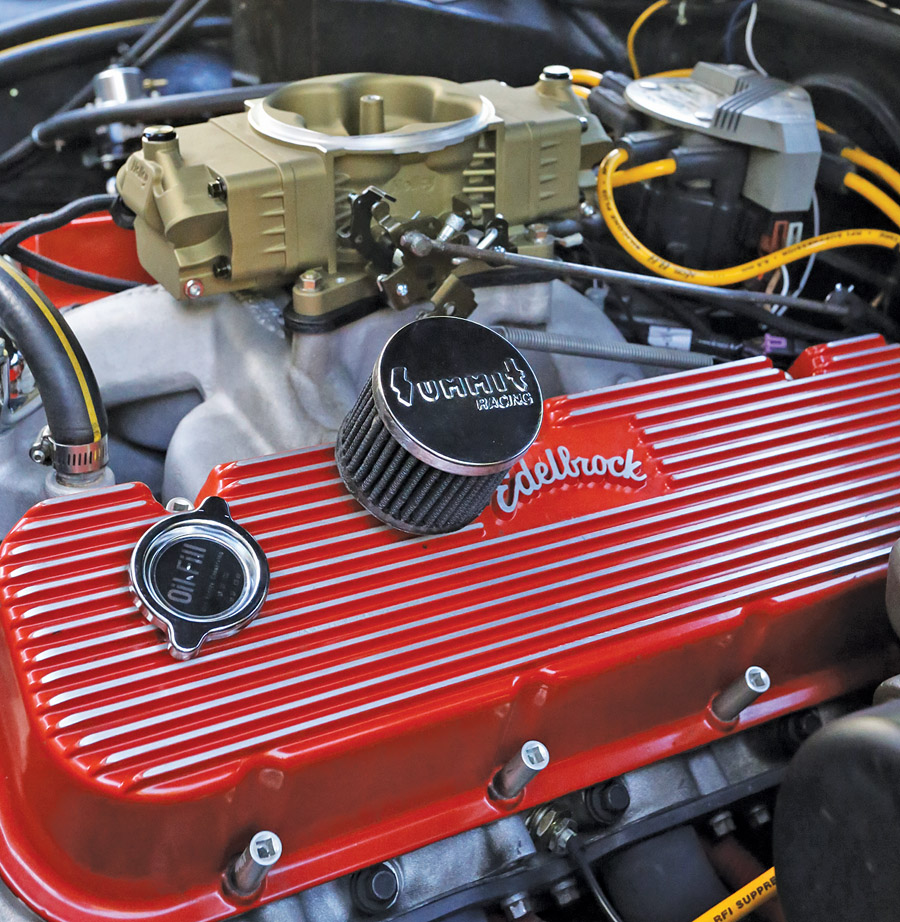
The true key here is the look — it’s the spitting image of an old Holley under your air cleaner. And yet, once set up, it’ll give much better performance, economy and ease of tuneability than a carb. Whether it’s worth the investment is up to you, but when it comes to increasing the overall usability of your classic, it’s hard to go wrong here. And I’m willing to bet your kids will want to get involved, too, which might be the most important reason to consider the swap.
