
The average muscle car is over 40 years old now, and it’s easy to forget that it lived a full life during that time — a life that likely filled its original fuel tank with rocks and rust scale. If you’ve ever run an old car out of gas, you probably cursed this stuff as you cleared it out of your fuel lines.
Worse yet are slow leaks from rear-end damage, which are a common problem on tanks that fill from behind the rear license plate. That’s exactly what happened to my ’66 Caprice some time in its past, causing a slow leak that made my garage smell like fuel after every fill-up — not safe, and a sure-fire way to get the car booted from any indoor event, be it an auction or a show.
Fortunately, pulling a tank on a GM car from the 1960s is not a tough job, either to have it cleaned out or to simply replace it. So we went to World of Speed’s shop in Wilsonville, OR, to show you how to do it.
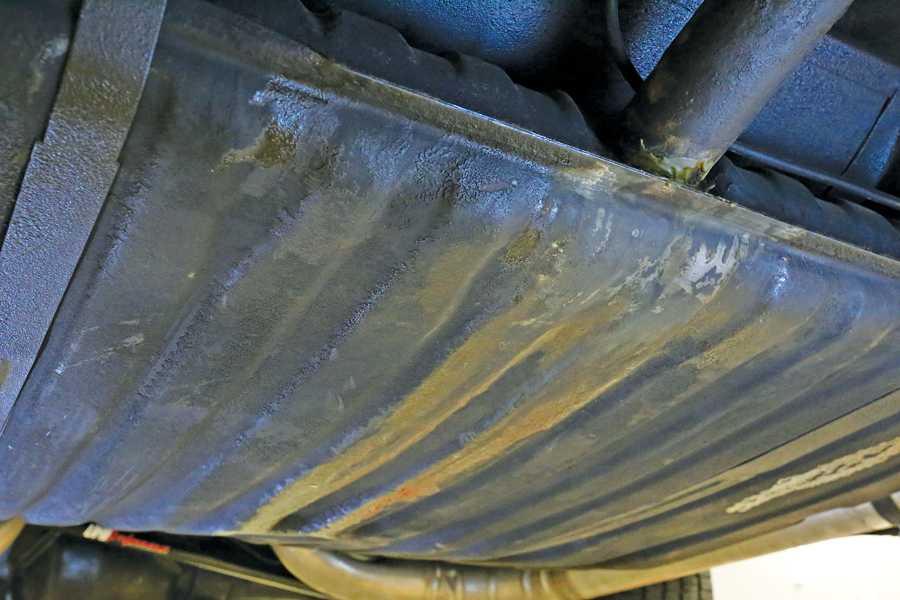
Someone thought a little epoxy sealant might stop my fuel tank’s filler-neck leak. It didn’t work. The only real option here is to replace the tank. 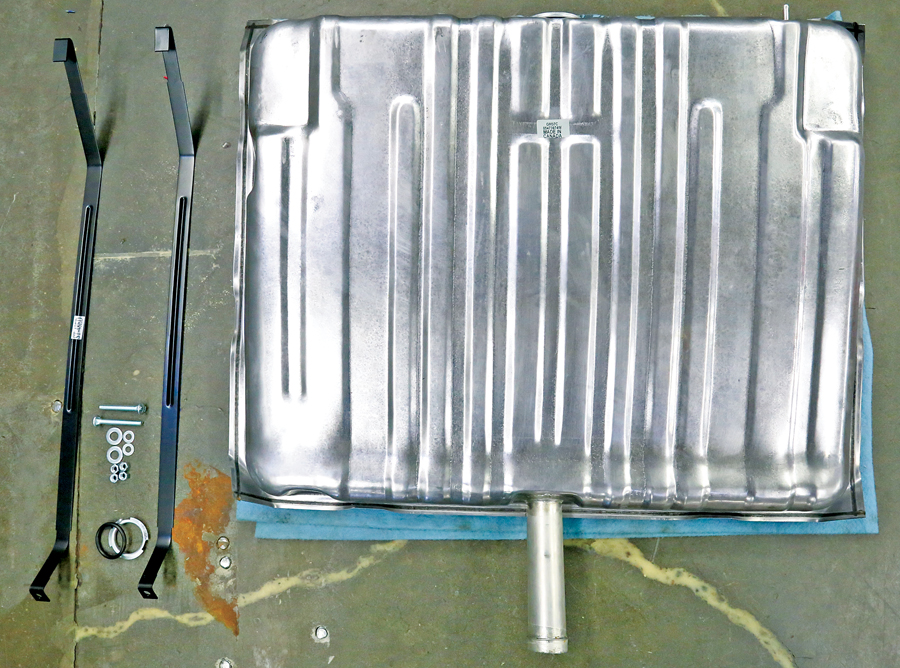
Lutty’s Chevy Warehouse in Cheswick, PA, had everything we needed for the swap, including a reproduction tank, a 3/8-inch sending unit, tank mounting straps and all associated hardware. If your original tank doesn’t leak, any radiator shop can clean it for you once it’s out of the car. 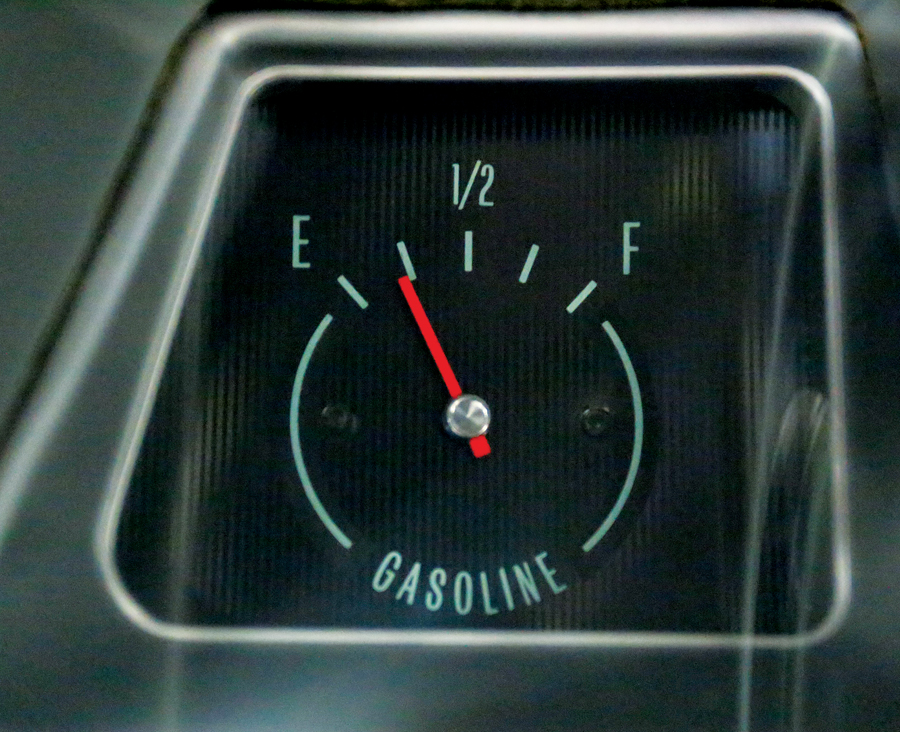
Run the car almost out of gas — but not completely out. That way, if the sock has fallen off the sending unit, you won’t suck something into the fuel line and block it. Just remember that one gallon of fuel weighs about six pounds — if your 20-gallon tank reads a quarter on the gauge, that’s 30 pounds of liquid weight you’ll have to wrestle. 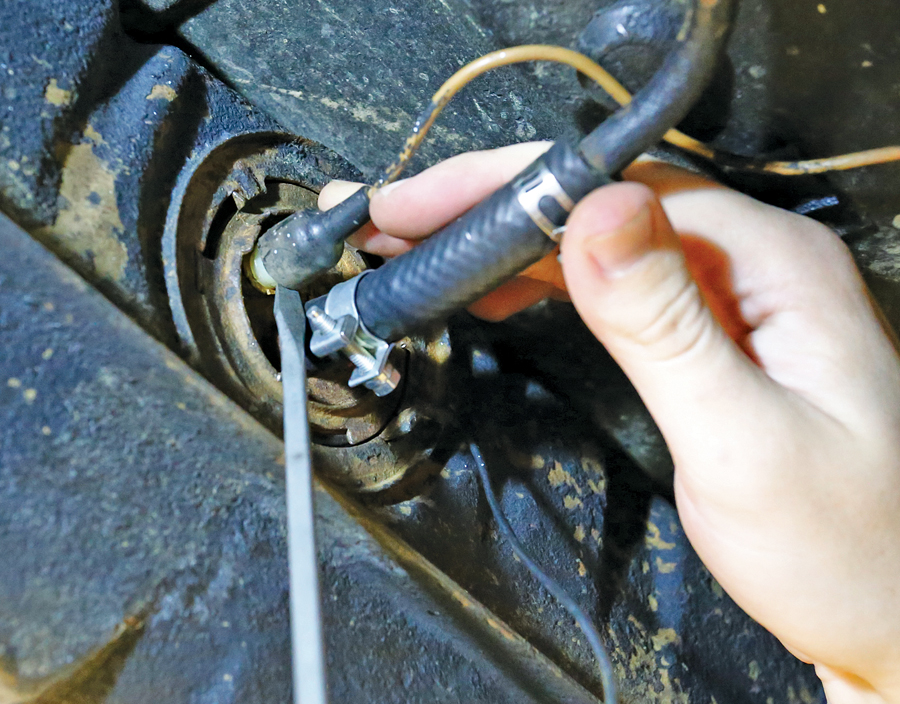
Disconnect the negative battery cable, slide under the car, and find the sending unit (on this tank, mounted dead center front). Pop the signal wire off the sending unit with a screwdriver and disconnect the ground, fixed to the body nearby with a quarter-inch screw. 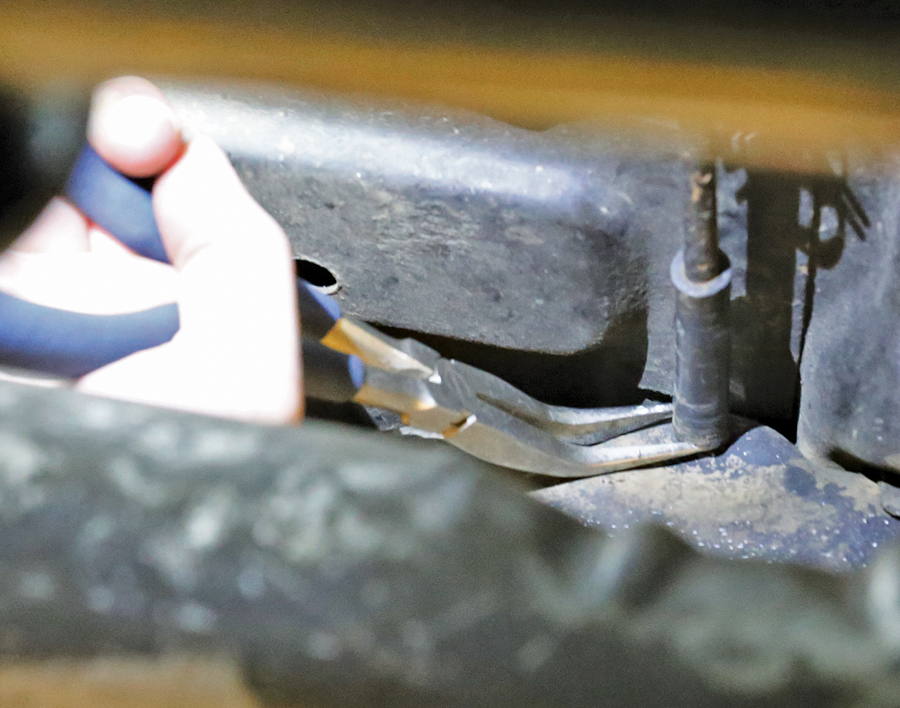
On this tank, GM used a 5/16 vent hose, mounted high on the passenger’s side. A pair of bent needle-nose pliers works well to remove factory clamps and gives you leverage to push the hose off the tank, using the bend as a pivot point. 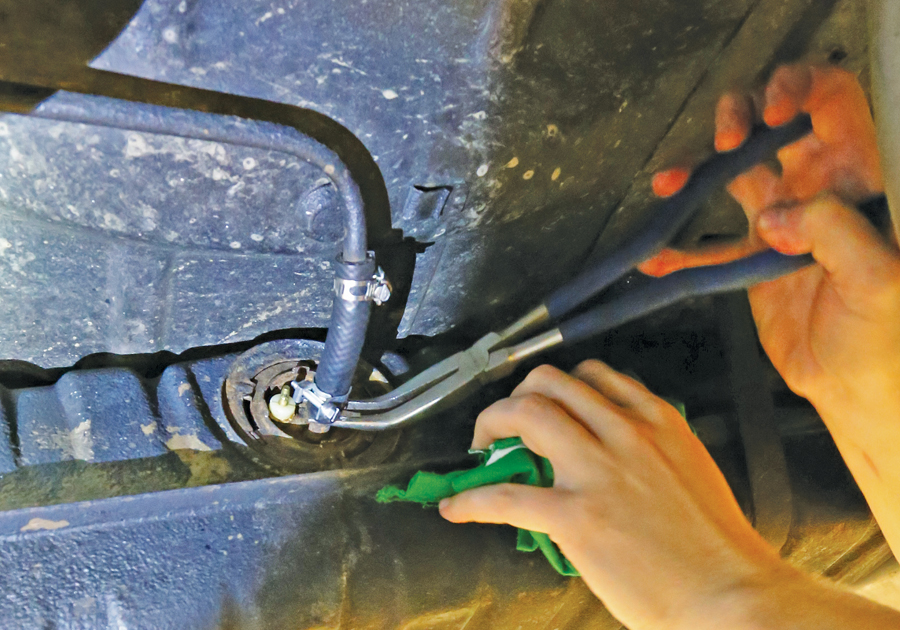
Next up is the main fuel line. Both this line and the vent can age and crack, causing the fuel line to leak and/or suck air, so it’s smart to replace them while you’re in here (these ones have been replaced already — note the later-style clamps). Be ready to catch a few cups of fuel as the fuel line drains down. 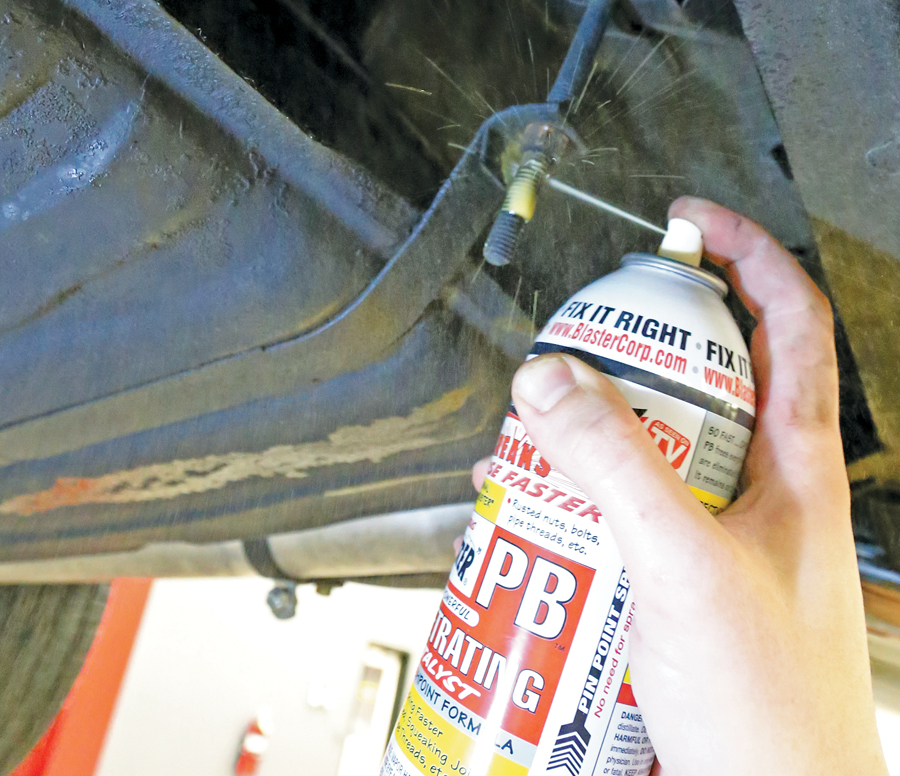
This tank is held to the car with two mounting straps, fixed to the car with two long bolts and 9/16 nuts at the rear of the tank. If it’s never been apart, hit the threads with some penetrant before trying to turn the mounting nuts. 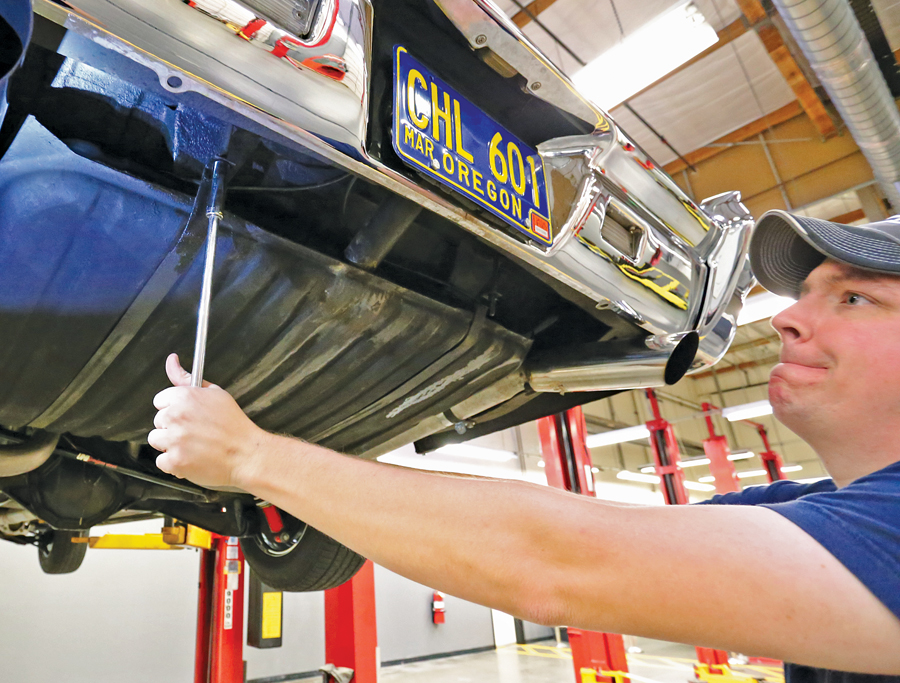
A 3/8-inch ratchet with a 12-inch extension and a deep-set 9/16 socket gives good leverage on the tank retainer nuts. Loosen them up, but don’t remove them. 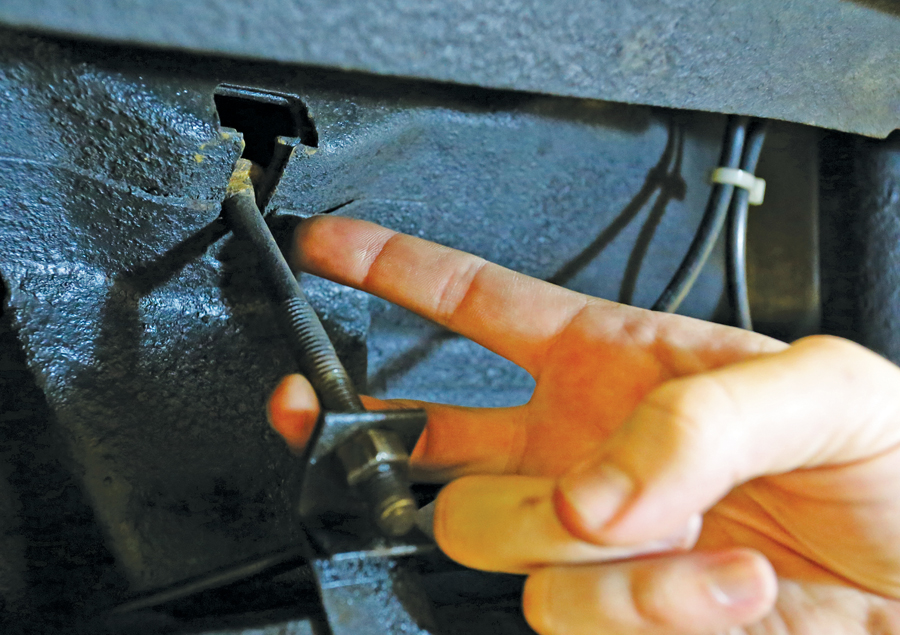
Get a friend (or a jack) to push up on the tank. Slide the heads of the retainer bolts out from their mounting points and let the straps hang down. The tank can now drop out of the car. 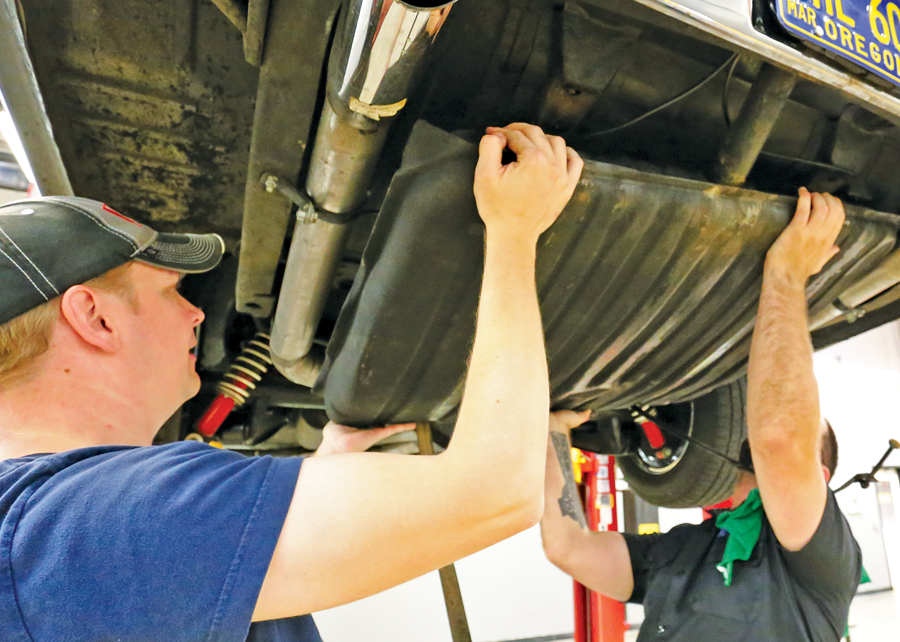
Make sure the filler neck clears the bumper as you drop the tank down — an extra set of hands makes it easy. 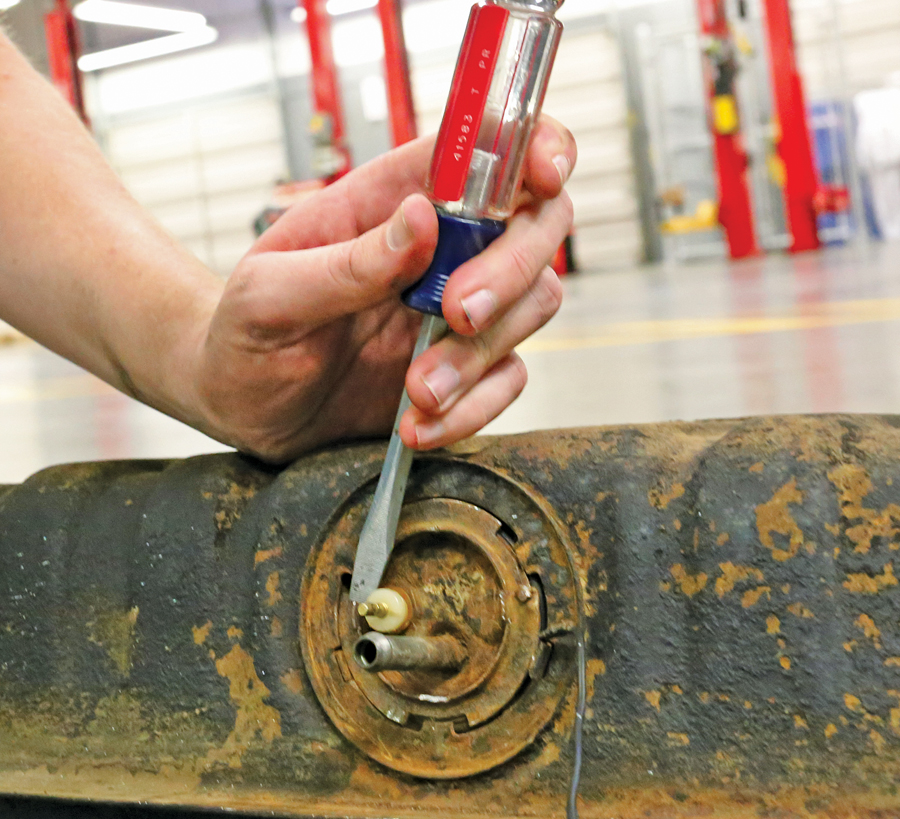
Before installing the new sending unit in the new tank, double-check its resistance against the old unit so you can be sure your fuel gauge will work correctly. Sending-unit lock-ring tools exist, but you can also tap the lock ring loose with a screwdriver and a hammer, moving carefully around the three ears on the outside of the ring. 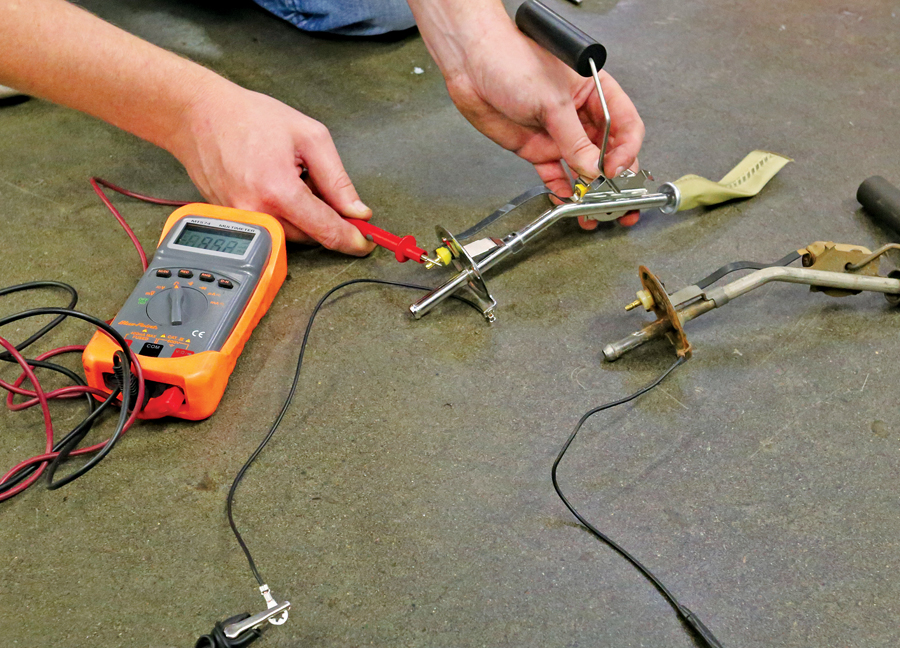
With a multimeter, check the old sending unit’s resistance at full and empty and compare those readings with the new unit. In our case, we had 96 ohms full and 1.5 ohms empty on both old and new. Good to go. 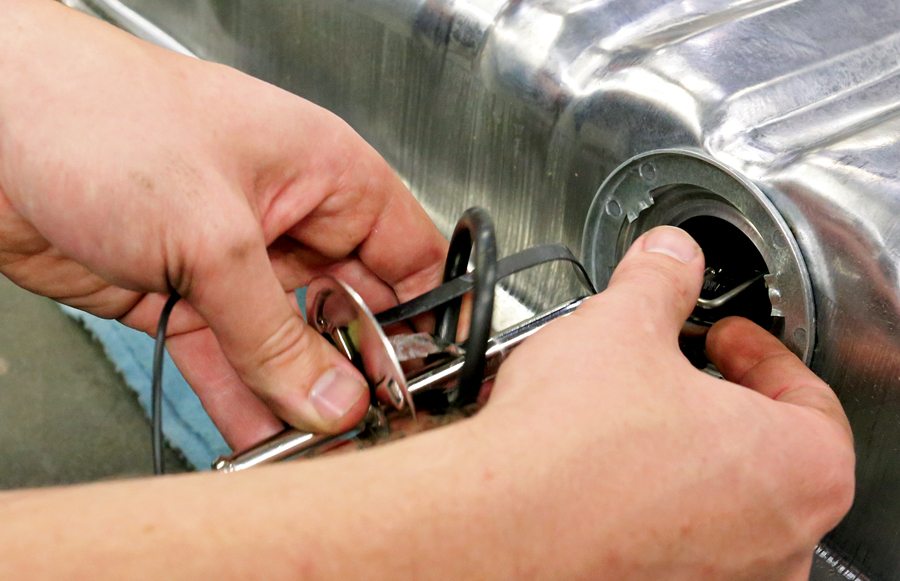
Feed the new O-ring onto the sending unit, and then work the new sending unit into the tank. Install the new lock ring and tap it into place, again moving to each of the three ears on the outside of the ring. 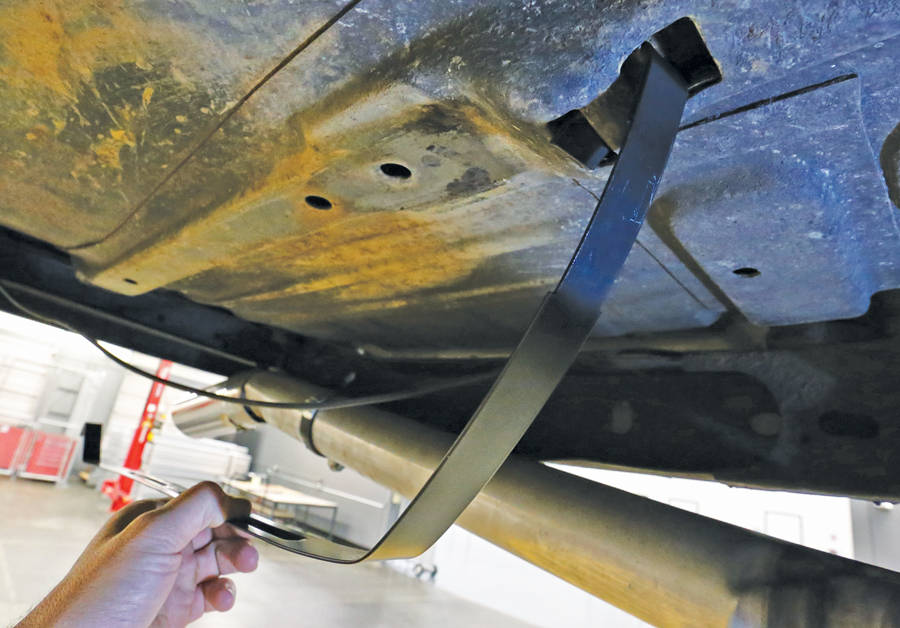
We opted to replace the original tank straps with reproduction units. Hang them from their front mounts and thread the rear mounting bolt and nut through each of them, but let them dangle. 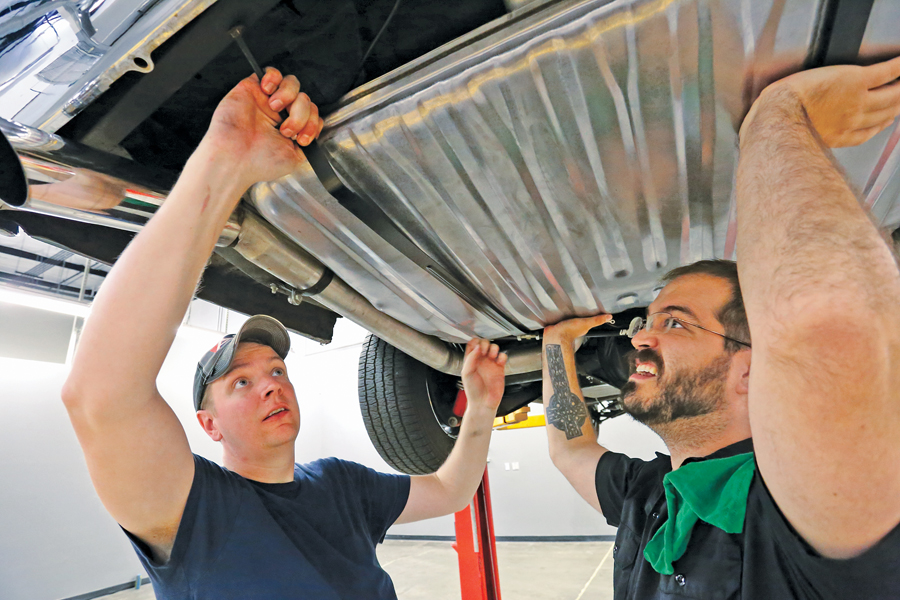
Lift the new tank into place, grab the straps, and hook the strap bolts to their mounting locations at the rear of the car. You may need to loosen the nuts to make the bolts long enough to reach their hangers. 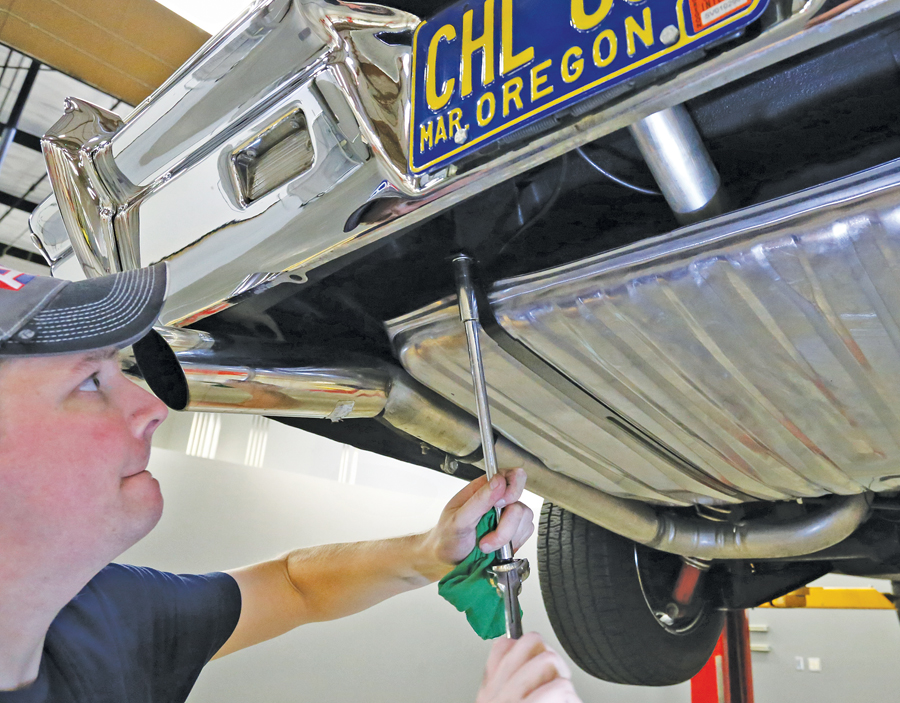
Snug up both straps tight, making sure the tank is straight, and in this case, not touching either exhaust pipe. 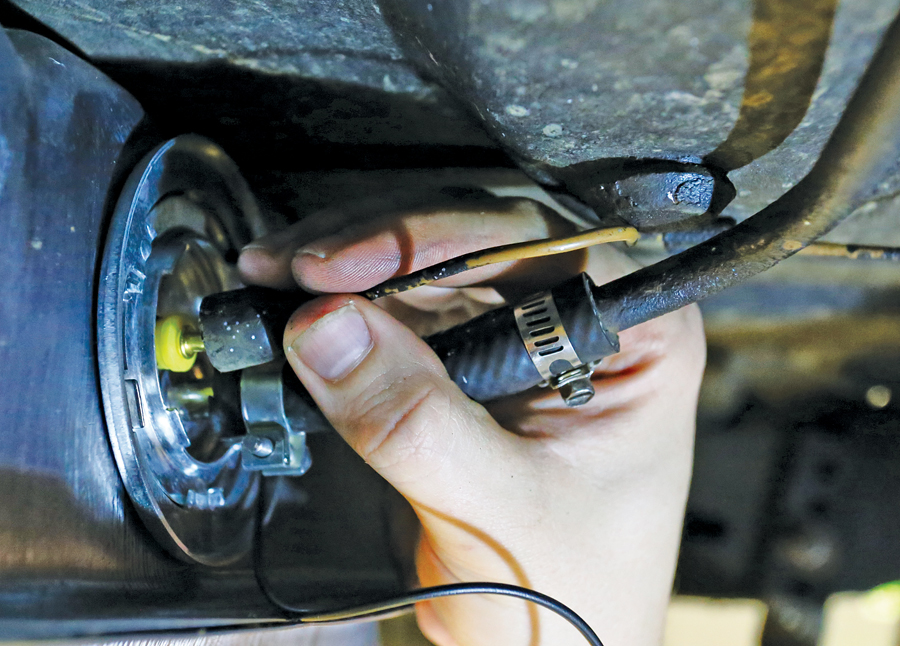
Hook up the fuel line, vent line, sending-unit signal wire and ground. Make certain that all connections are tight, and be sure to replace any hoses that appear worn. 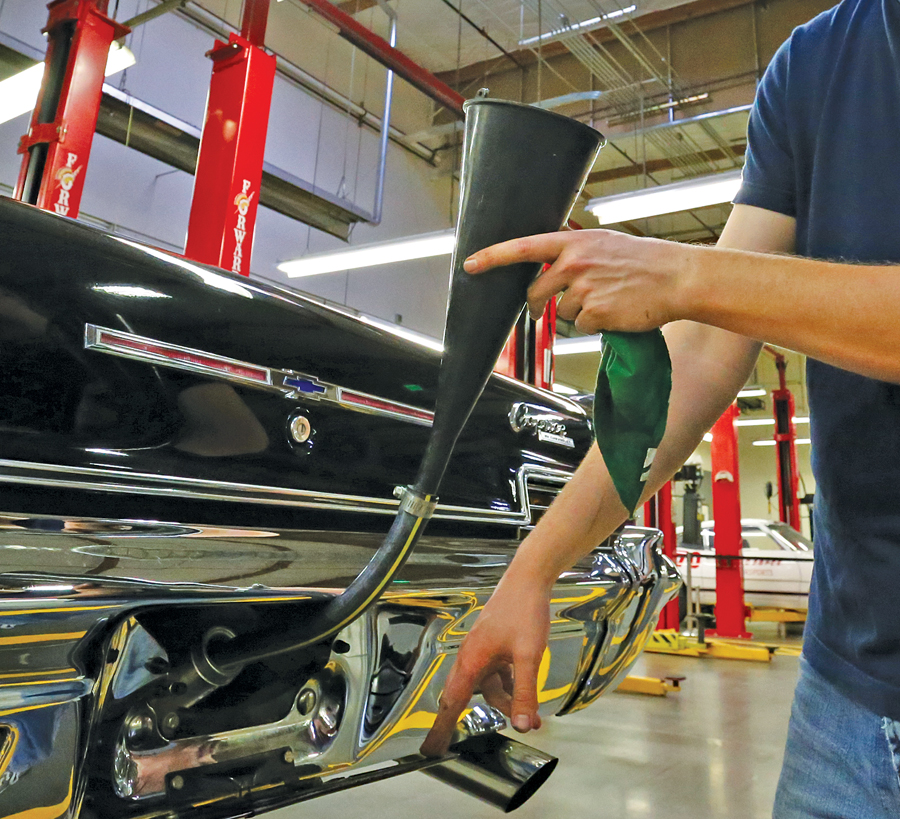
Adding fuel can be harder than it sounds on a car with a tank behind the plate because gas cans hit the bumper, making it impossible to pour. I made a tool out of a transmission funnel and some heater hose for a keep-in-the-trunk solution on the cheap. 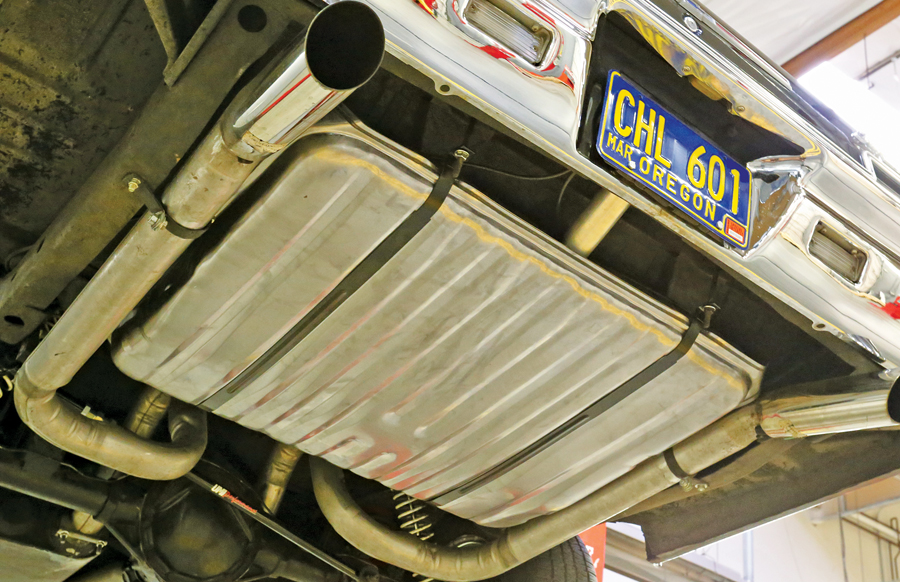
Check for leaks, hook up the battery, and you’re done — goodbye rust scale and leaks, hello clean fuel to feed your engine.